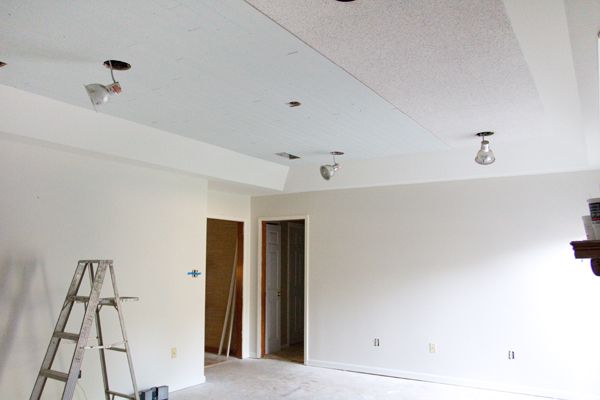
The last time I blogged about Kevin’s brother Kerry’s ceiling we were right here…
Since that day, we were able to finish installing the planks, and Kerry did a fantastic job of caulking the seams, and knot & nail holes…
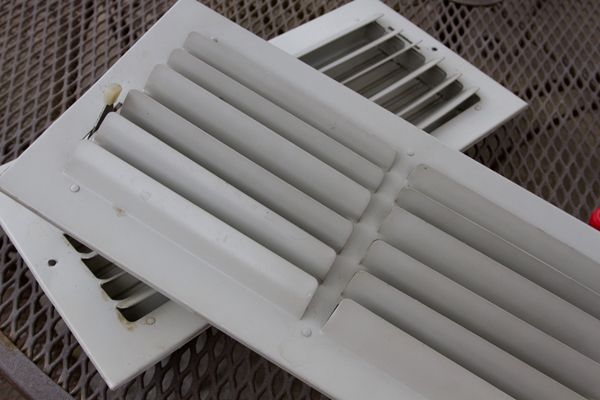
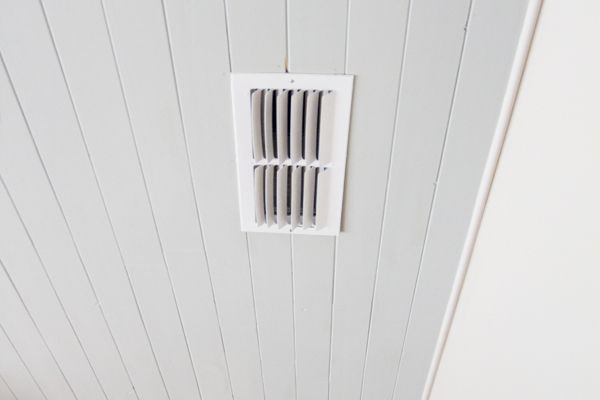
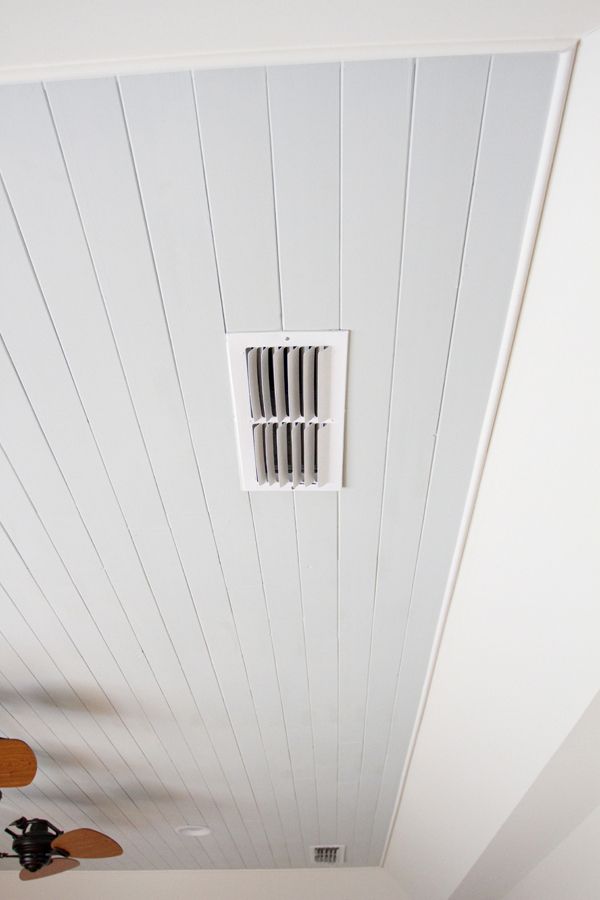
We used some Rustoleum primer and spray paint to freshen up the old light gray vents…

Before…
After!
We used some inexpensive half-round trim to finish out the edges of the ceiling…

I painted it Moonlight White (Benjamin Moore) to match the other trim in the room, and we just nailed it up with our pneumatic nailer…
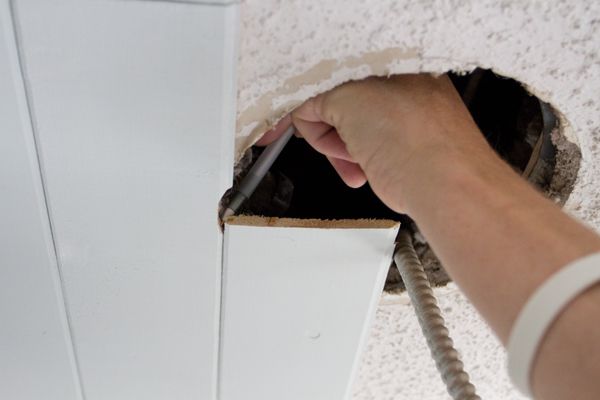
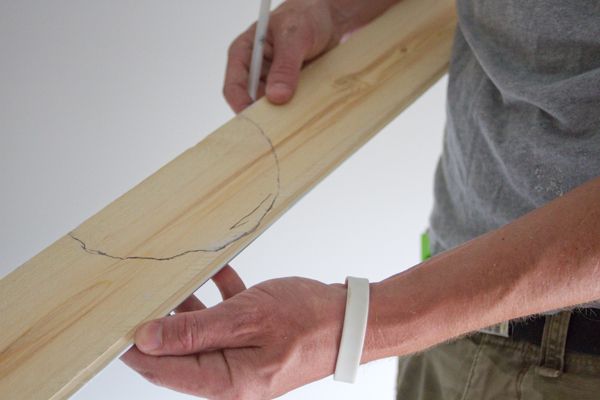
To cut out for the recessed lights, Kev just held up a plank and used a pen to trace where the hole was…
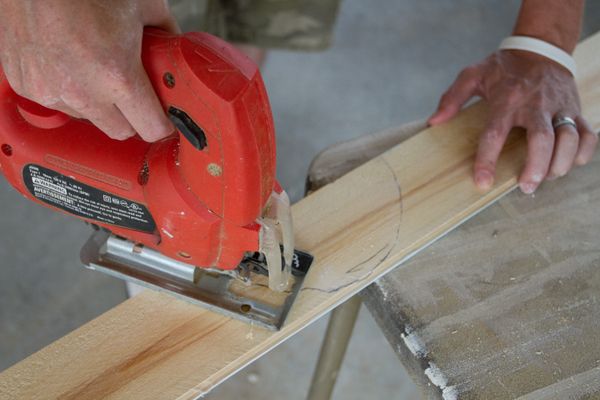
Then he used a jigsaw to cut it out…
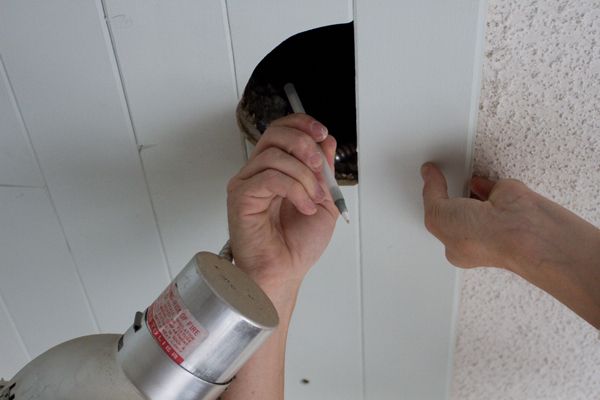
Here’s a pic of him doing the other side of the same hole…
Ta Da!
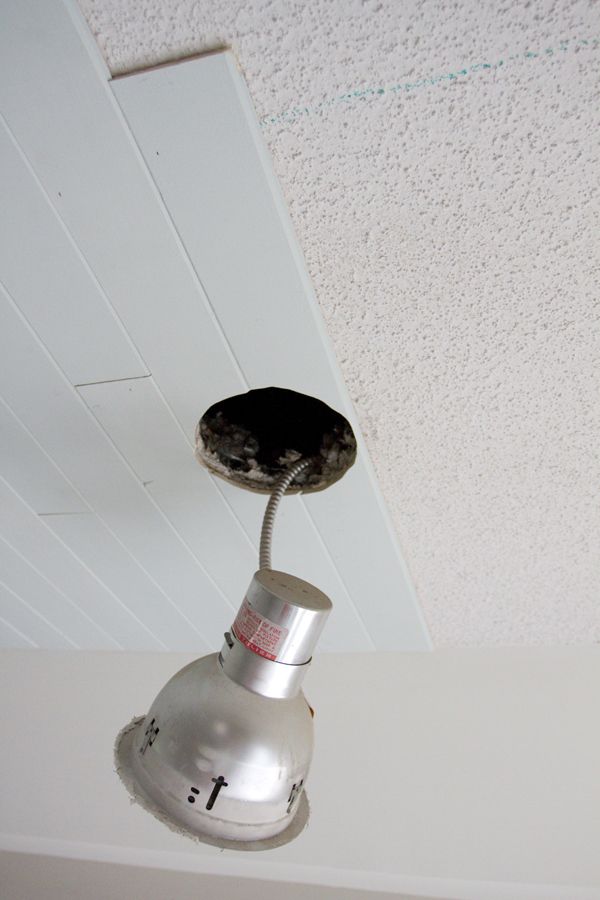
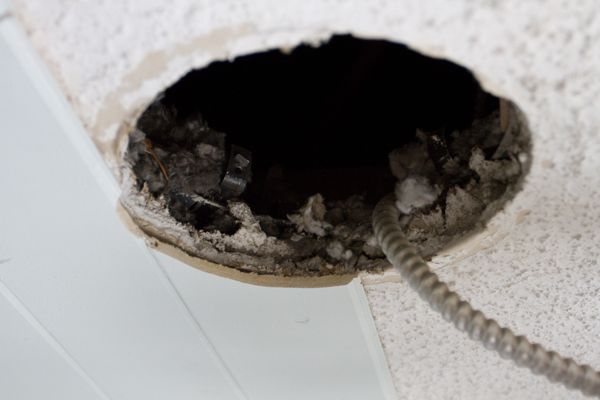
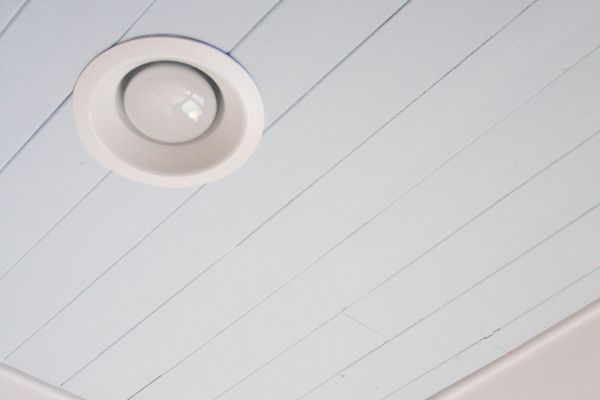
And speaking of the recessed lights, our friend, Mark, took down those old (unsafe) recessed fixtures after we finished the ceiling. Here’s a shot of the new ones…
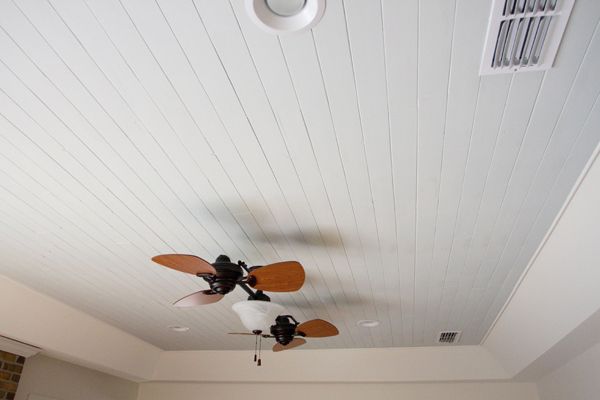
And here’s a pic of the new ceiling fan…
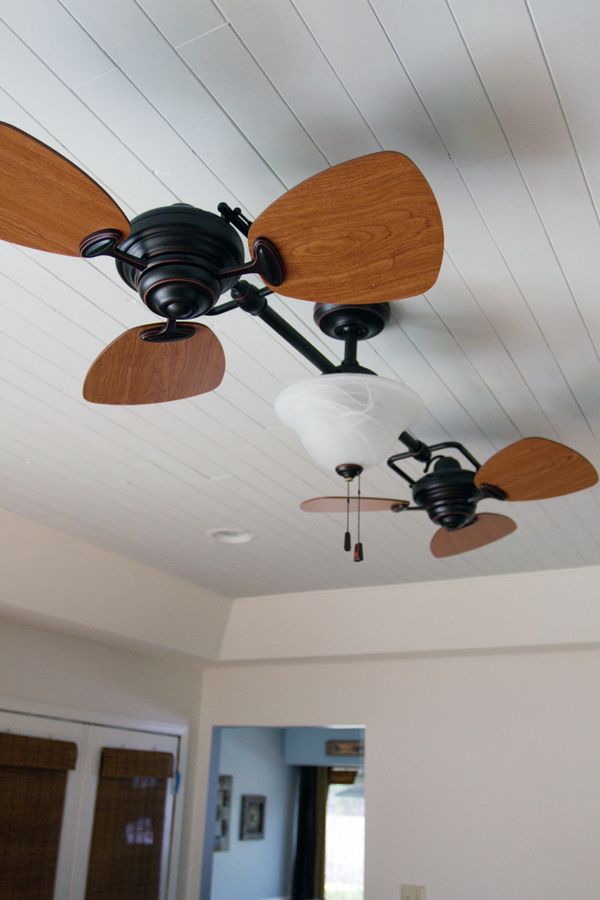
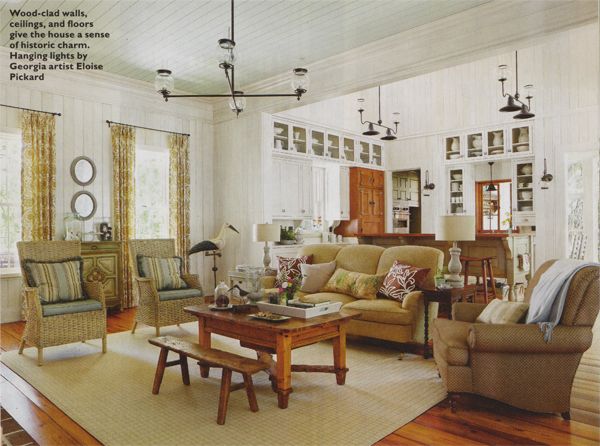
It came from Lowes, and it’s called the Twin Breeze by Allen+Roth. (Item #0275436) It cost $179, and I thought it was a good alternative to the ones they used in the Southern Living room we’re drawing inspiration from for this makeover…
Both fixtures have the long, oil-rubbed bronze bar, but having the fans will help keep their electricity bill down, which is always a good thing here in Alabama!
Next up, we’re going to head to Atlanta and pick up a white entertainment unit at Ikea. Something like the one I used in my presto change-o drawing…
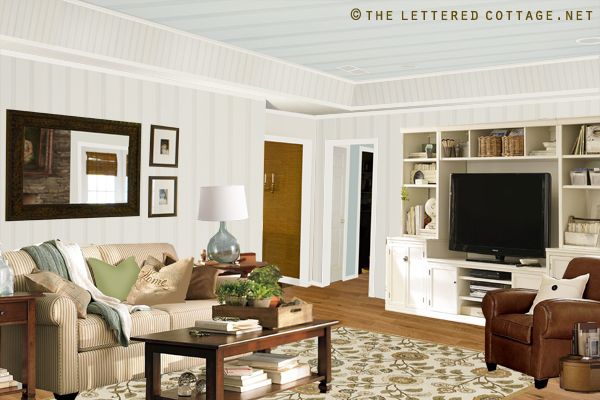
…but, again, something much less expensive. We’re going with the Hemnes unit…

It’ll be similar to the unit above, but Kerry and Robyn are going with the 2-cubby bridging shelf and the 2-drawer TV stand, because the wall they’re putting it up against isn’t quite long enough to accommodate the larger pieces. It’s solid (white-painted) wood and it’ll fit the budget at $639 + tax.
I look forward to helping them accessorize it, and blogging about the next update soon!

The ceiling turned out beautifully! Great job you guys! I can’t wait to see what you do with the wall unit!
Just a quick question about the Hemnes unit you mentioned. You said that it is solid wood, but every time I’ve looked at those units the white is particle board; only the stained units are solid wood. Are you planning on painting one of the the other units white? Or did you find the Hemnes white in solid wood?
Hi Patti! I just visited Ikea.com and it says the white Hemnes unit is solid pine with a lacquer on top of it. 🙂
Oops, sorry, my mistake! I have a couple other Hemnes pieces (shoe cabinet and dresser) and the white is only particle board. I had steered away from anything Hemnes white because I figured it was all the same. Thanks for letting me know!
The ceiling looks amazing! I really would love to do this in my home and my question is: is it necessary to remove the popcorn ceiling before putting up the planks? Can you put the planks right on top of it?
Thanks so much and love your website!
I can’t get over how super reasonably priced the twin breeze light fixture is, I love it!!! Y’all did a fantastic job on that ceiling I can’t wait to see more.
What an awesome way to deal with popcorn ceilings!
Layla, I love it. But I was wondering, did y’all end up using liquid nail glue on the planks that couldnt be nailed to the joists? Or we’re they light weight enough to just nail to the sheet rock?
Nope! We followed all our crayon lines and nailed every plank into a joist! 😀
That looks amazing. I am hoping to do that to my family room also. I noticed that your before pictures show the fireplace with regular brick and the after photos the fireplace looks stone (can be seen from the mirror on the wall). Do you have a blog about that being updated and, if so, can you please give me the link? Thanks!
Hi Deanna! We ended up doing this to Kerry’s fireplace:
https://theletteredcottage.net/fireplace-makeover/
🙂
The ceiling turned out beautifully! Would it work to use these same planks to cover a wall rather than the ceiling?