Now that the floor is done in the living room, it’s time to trim everything out and put the room back together.
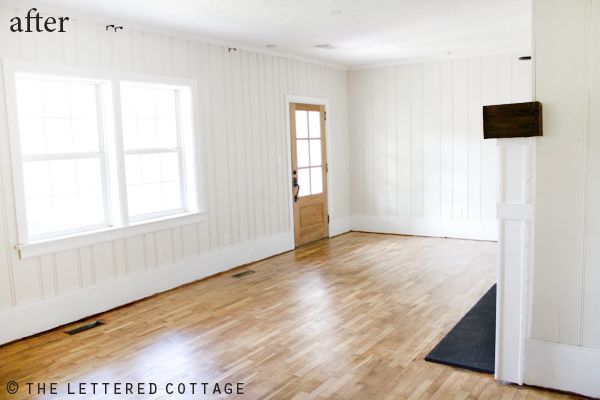
This is a photo of what the room looked like about a year ago:
Note: A lot of things have changed since we snapped that pic, and we’re looking forward to adding some more current photos to the Our House tab on our Home page soon!

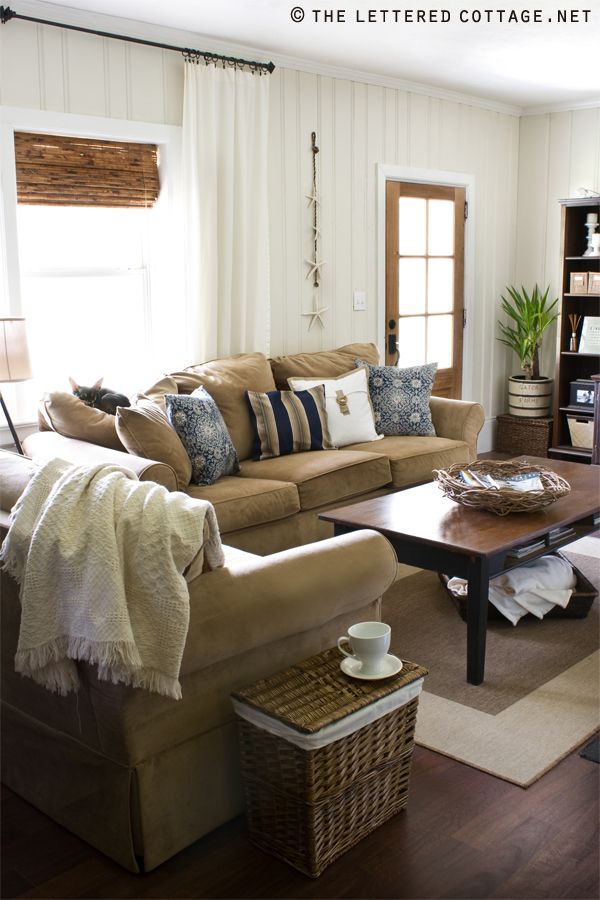
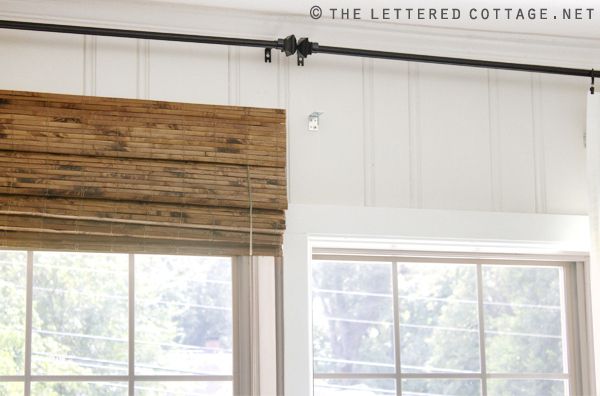
See how those blinds we got at Bed, Bath & Beyonce a few years ago were mounted inside the window frame in the photo above? Welllll, I’ve been itchin’ to hang ’em up a little higher since….oh….I don’t know…the day after we hung them up a few years ago. But since that sounded about as fun as a kick in the shin, I just kept putting it off, and putting it off. Then finally, a few weeks ago, I just decided to get it over with. Barefoot and determined, I crawled up there on the back of the couch and fought with those blinds and my power tool for the better part of an hour mounted them to the wall above the windows…
And wouldn’t ya know it- exposing that top row of glass made the room so much brighter! It’s basically it’s like we added another half a window if you count up the panes. (There’s 6 more of those suckers showing now!)
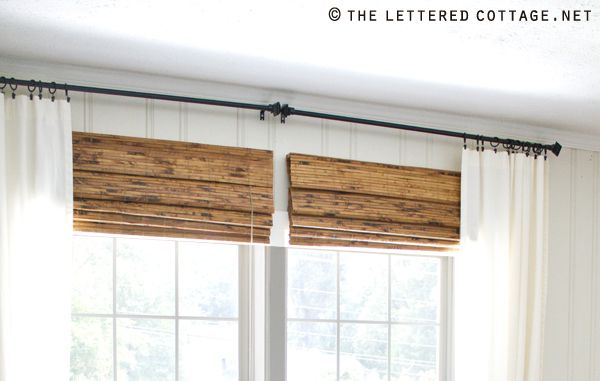
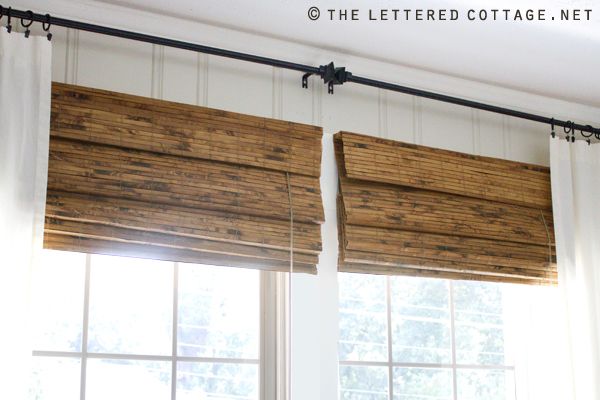
I got another burst of energy yesterday, and decided to complete the obstacle illusion. (Sorry, I heard a guy say it that way one time, and I’ve been sayin’ it that way ever since! Ha!) I used a piece of scrap wood to make it look like the windows are actually taller than they really are, and so it doesn’t just look like two blinds mounted to the wall anymore…
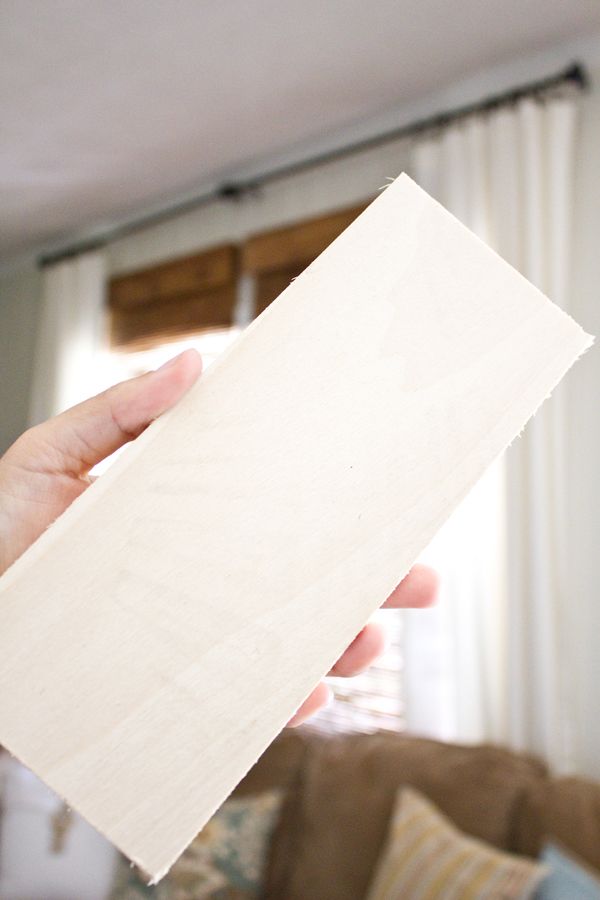
(Pay no attention to the footprint mark and rough edges…all that stuff sanded right off with the help of my handy dandy sanding block.)
First, I painted the piece of wood the same color white as the rest of the window trim, (just regular ol’, off-the-shelf, white paint in semi gloss from Home Depot that we had laying around the house) and while the paint was drying, I climbed back up on the couch and took down the blind on the right…
I ended up having to remove that little silver bracket mounted to the wall up there too.
After that, I used a hammer to coax the piece of wood into place behind the blind on the left so that it lined up with the window trim running vertically down the wall between the two windows. Then I filled in the crack between them with non-cracking, paintable white caulk, touched everything up with a little more white paint, and voila- taller looking windows!
Total cost: $0! And my secret’s safe with you, right?


Where did you get the beadboard or paneling for the wall? We want to do floor to ceiling beadboard in our family room and really like the unique spacing of the grooves on the wall. Love your site!! Thanks!!
Hi! Just came across your blog form pininterest. LOVE your sofa and chair, wherever did you get them from??
What a timely post for me (even though I’m reading it long after you originally posted it!). A few months ago we hung bamboo blinds in one set of windows. I LOVE the look, however, it has really darkened up the space. Our house tends to be on the darker side anyhow b.c of great shade trees. Anyhow, I’m lifting my blinds above the window now!!! And I feel confident in purchasing blinds for a few more spaces! Thanks for sharing your secret!!!
Great idea! For anyone looking to try, we use a single bamboo outdoor “porch” shade, so that we didn’t have the split in between the windows, and it was cheaper ($30?). Also, Ikea sells 108′ white back-tab panels for only $5!
I want to live in your house, it is gorgeous. If my pinterest was working at my job then your house would be pinned all over my boards! I love the posts, thanks for posting this stuff for simple people like me to try to accomplish… in my dreams.
Layla, Love this idea, but I was wondering where you got your blinds. I have been looking for those for my boys room. And, are they expensive? Thanks,
Jill
Love the couches! Where did you get them?
I also love the couches! Where did you get them?
Beautiful Room! Can I ask what color the wall paint is? Gorgeous 🙂
I love this and would love to change out our window treatments so they don’t look like high waters. But here’s my question: our home is an 1860 Victorian with thick (beautiful) original woodwork and trim in the downstairs and the trim around the windows(esp at the top)sticks out. I’m not sure I want to hide all that beautiful woodwork but I would love to have longer drapes/curtains, hanging them just underneath the ceiling trim. Any ideas? Id really appreciate any advice you might have. I’ve asked the same question of other bloggers before and never gotten a response.
Hi Sarah!
Can you email me a photo at LaylaPalmer (at) aol (dot) com? I’d love to see what you’re workin’ with over there! 😀