Well, we’re one project away from finishing all the construction-related stuff at Keith the Fireman’s house and then it’ll be time to decorate! 😀
Last week, we tackled his tile hearth. Here’s what it looked like before we started:

The goal was to cover up the existing tile with something so that it looked like concrete or stone.
Step 1 involved troweling on two very thin coats of SkimStone’s bonding primer.
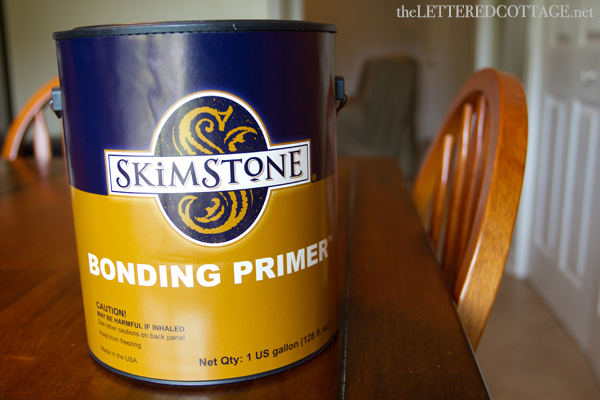
If you’re using SkimStone over a tile floor or laminate countertop, they say to use two coats of bonding primer. Here’s a photo of Keith troweling on the first coat:
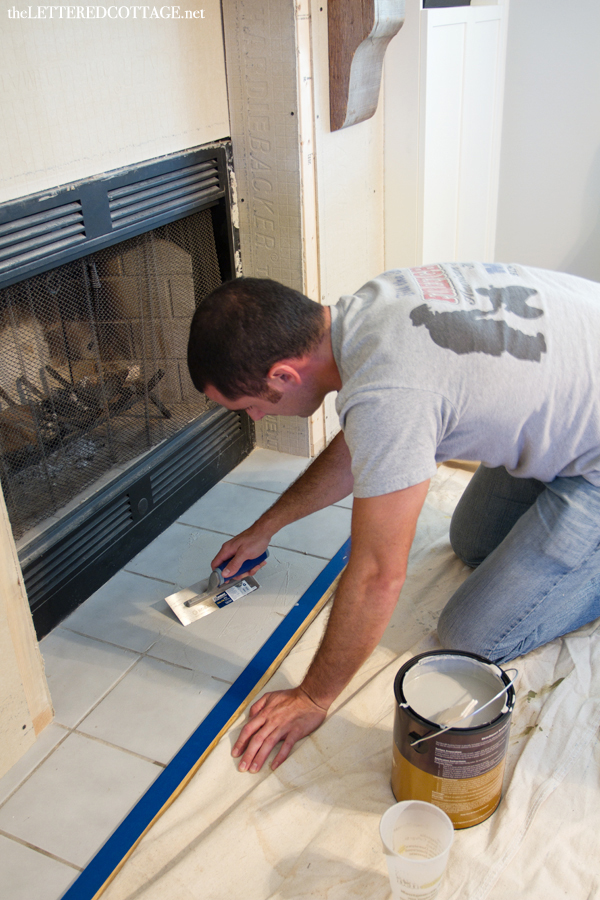
He applied the second coat about 4 hours later, and then used a large sanding block to smooth it all out the next day.
Once every speck of sanding dust was cleaned up, we moved on to Step 2: Applying the Basecoat.
There are some really great video tutorials on the SkimStone website, but here’s some text from the folks at SkimStone that explains what to do for step 2-
Mix 1 part Type I Solution to 2 parts Basecoat Dry Mix. If you want, you can also add a little White Powder to the mixture. It helps keep the aggregate in suspension. ALWAYS add the dry ingredients gradually TO the liquid. (Not liquid to dry.) Trowel apply 2-3 coats – no more than 1/16” thick. Let dry at least 2 hours between coats. If it’s really humid or temperature is colder, it may take a little longer. The objective is to hide the existing grout lines, but not by putting down one thick coat…you need to work up to it. Let the final coat overnight dry.
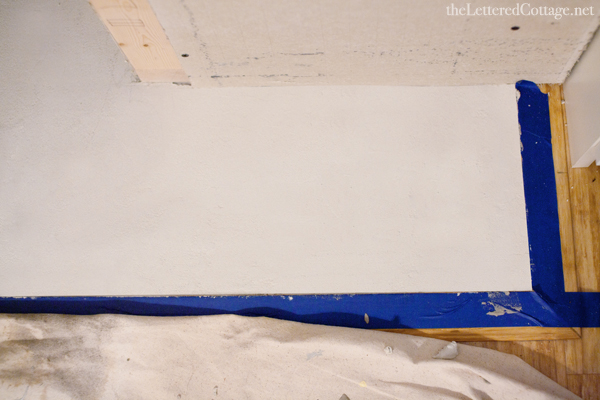
Here’s a photo of how the hearth looked after Step 2 had fully dried:
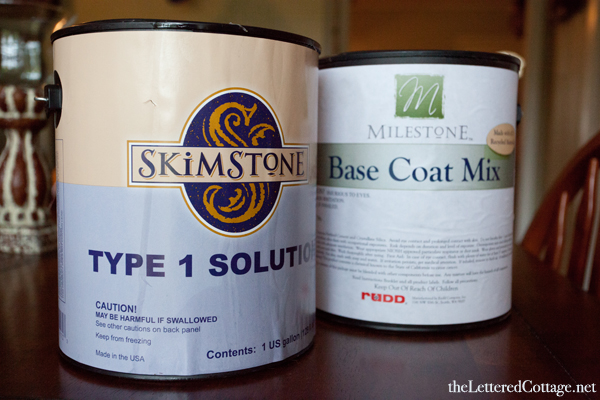
Next up was Step 3: Applying the Color Coats and the SkimStone. We did it by mixing these three products-
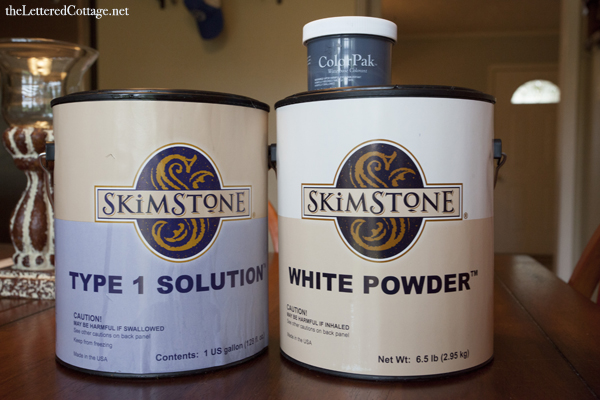
Here are some text instructions about this step-
Use the color calculator on SkimStone.com to calculate how much White Powder to mix with Type 1 Solution and colorant. Most people apply 3 coats of this mixture – each one mixed thinner than the previous coat. That’s how you get the wonderful textured appearance. Once again, it’s troweled on super thin. When we say thin…we mean THIN. You should see some of the Basecoat peeking through the first color coat. I often tell people to put it down as thin as a dollar bill. Let the Color Coats dry over night.
Last up was Step 4: Applying the Protective Sealer.
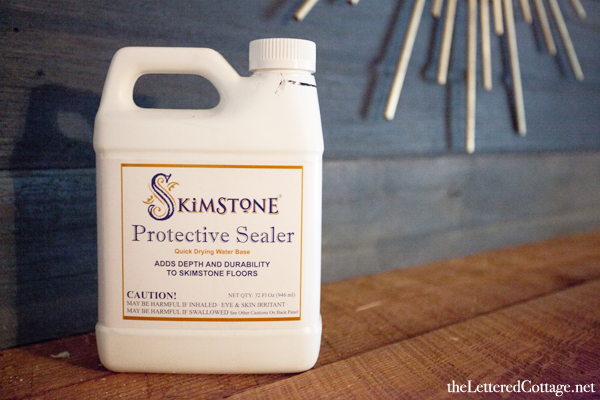
My contact at Skimstone said-
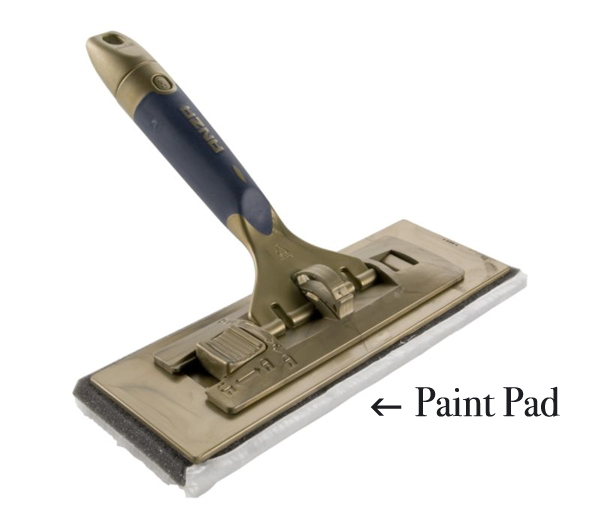
Put it on with a fresh, new paint pad (knock/rub out all those pesky fuzzies first). The sealer should be applied in very thin coats too, but it and dries much faster. 4 or 5 coats should do the trick!
Keith applied the last coat of Protective Sealer on Monday night, and here’s a before and after look at the finished hearth today:
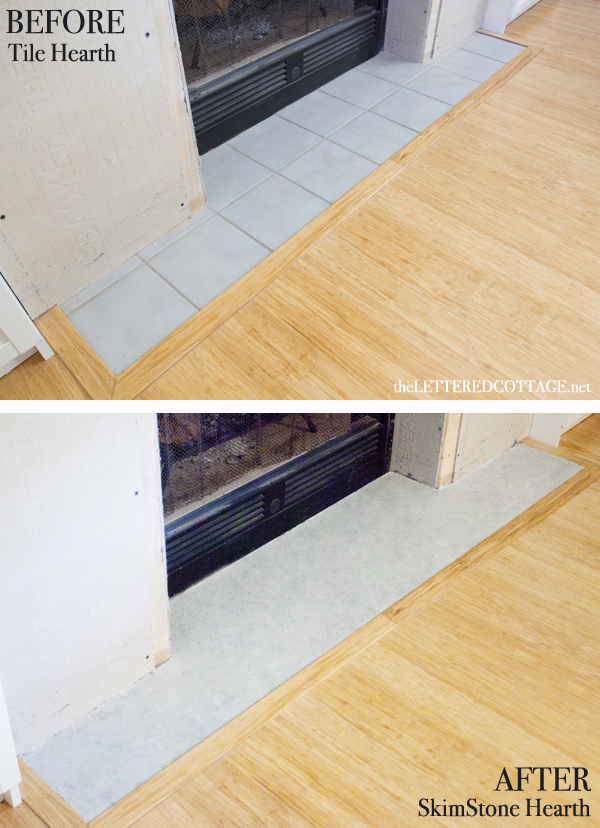
It was really tricky working with the trowel within that wood trim on the floor, but the hearth really does look and feel just like concrete/stone now! #yessss
I didn’t know how this project would turn out (I just cross my fingers and hope for the best when it comes to projects that involve math!), but now that it’s done, I’m so glad we decided to give it a try, and I’m pumped that Keith is happy with the results. 🙂
We’re going to tackle the last construction project next week (attaching faux stone on the front of the fireplace), and I can’t wait to see how it turns out. Hopefully I’ll be back with a post about how easy it was next Friday- LOL!


I improvised a similar project on a nearly identical hearth a few years ago. I just winged it. Bought premixed cement, troweled it over the tiles, and then spray painted it with a hammered metallic paint finish. It’s hard to identify what material it is, but it definitely does not look like cement and spray paint! I love it but wish I had know about SkimStone (even if was even out?) back then.
Way to wing it, Helene! That’s what I do best, too! 😀 #HighFive
Looks fantastic! Can’t wait to see the rest. Question, was thinking of chalk painting my green tile fireplace, but this is a much better solution. Could a beginner “troweler” do it herself?
Hi Janet!
The troweling was definitely the trickiest part for us. I have some dessert decorating experience (a job I had many years ago!), so I ended up doing most of the troweling- LOL! 😀 I think as long as you’re open to a slightly rustic, stone-meets-concrete look, I think you’ll love it too! 😀
Oh my- this looks great! Do you think SkimStone would be suitable for covering an ugly tile floor in a kitchen? Is the finished texture slick or a little gritty? Thanks for sharing!
Hi Nicki!
We haven’t walked on Keith’s hearth yet, so I’m not sure about heavy foot traffic, but I’m sure the folks at SkimStone would be able to tell you how it would hold up. The finished texture is smooth, except for where I didn’t do a perfect job of troweling- then there’s a little texture, but it still looks neat! 🙂
Thanks so much!
Seems like a lot of steps/time, but looks great! Did you already cover why you used this as opposed to taking out the existing tile? Just can’t remember if you did, sorry!
Thanks, Marianne! 🙂 It was all kind of an afterthought really. I hadn’t planned on changing the tile, but then I remembered SkimStone and thought, “why not!” 😀
Thanks! It’s exciting trying new things, but scary too! But you never know unless you jump in and go for it!
Do you think it will work on the vertical tiles on a fireplace?
I would think so, Michelle- but it would definitely be more challenging to apply and I’d check with the folks at SkimStone just to be sure! 🙂
I think you could use something like Ardex Featherfinish on the vertical part of a fireplace. Check out Kara Paslay’s blog for all of her projects using Ardex.
I actually just used Ardex on my kitchen counters. THey turned out great! Too bad I didn’t see this post first. I wanted white counters and Ardex is gray.
I believe some types of Ardex are tintable, either when being mixed or after it cures you can use a topical acid or water based stain.
Definitely looks better than the tiles! Excited to see how this mantel looks finished!
Definitely seems complicated and like you have to be super careful but the end result came out really good.
That looks so awesome.
Hi Layla,
Wow, that looks great! I have never heard of SkimStone but it is a great idea.
Thanks.
Kristi
I know so many houses in our area have that surrounding fireplace tile. What a great solution to update the space!
Have you heard of a product called Ardex Feather Finish? Saw it on Little Green Notebook. Same idea but using only one product applying multiple thin layers. Hearth looks great.
As I read this post, I was nicely positioned to peak a glance over at our hearth, within our living room. I think this project turned out great. I actually just found your blog not to long ago, and I’m looking forward to diving right in with reading some of your posts. I’m looking forward to reading about your next project, as well!
Hey Layla! That looks great! Do you think this technique would work to transform a brick fireplace and hearth into one that looks more like cast stone?
Hi Leigh!
I’m not sure, but I will definitely check with the SkimStone peeps and see if they can answer that for you! 🙂
Thank you so much! My hubby and I aren’t super in love with our fireplace in its current state. We were just talking this morning about maybe trying to antique the brick when I popped over to catch up with TLC and saw your SkimStone post. Gotta love the timing! 🙂
I love your how-to’s! I am very interested in this particular method of applying concrete as an alternative to completely replacing existing material. Thank you for posting!
Evidently I have missed the finished version fo Keith’s livingroom. Please tell me where and how to find his completed room.
Thanks a bunch……
Janet
Hi Janet!
We’ve still gotta add the faux stone to Keith’s fireplace and we’re looking forward to doing that, and the room reveal, in September! 🙂
I am DIYing to see the final room reveal! I’ve been following this project since the beginning 🙂