So? Did you catch the sneak peek of our faux wood beams in my vlog on Friday? 😀
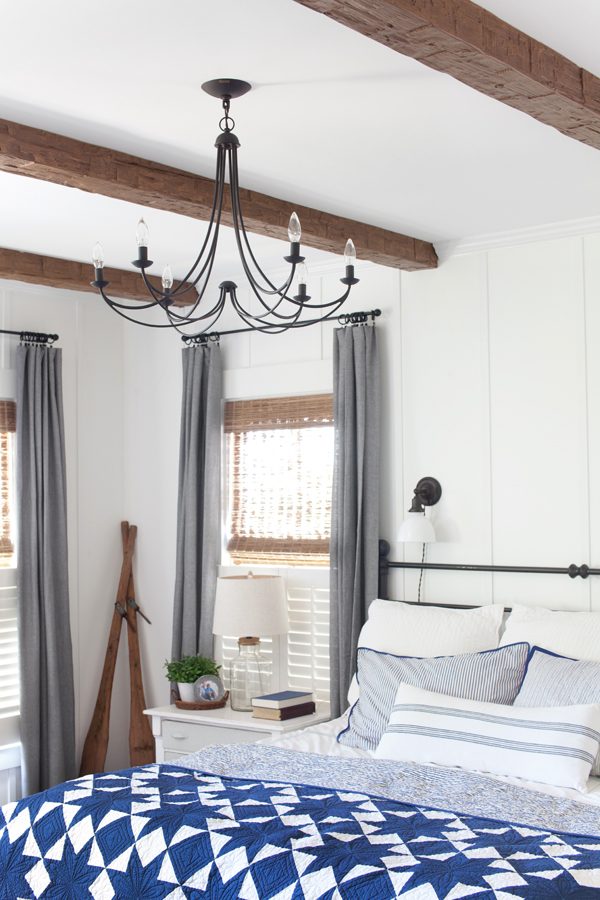
They came from AZ Faux Wood Beams and we. are. lovin’ ’em!
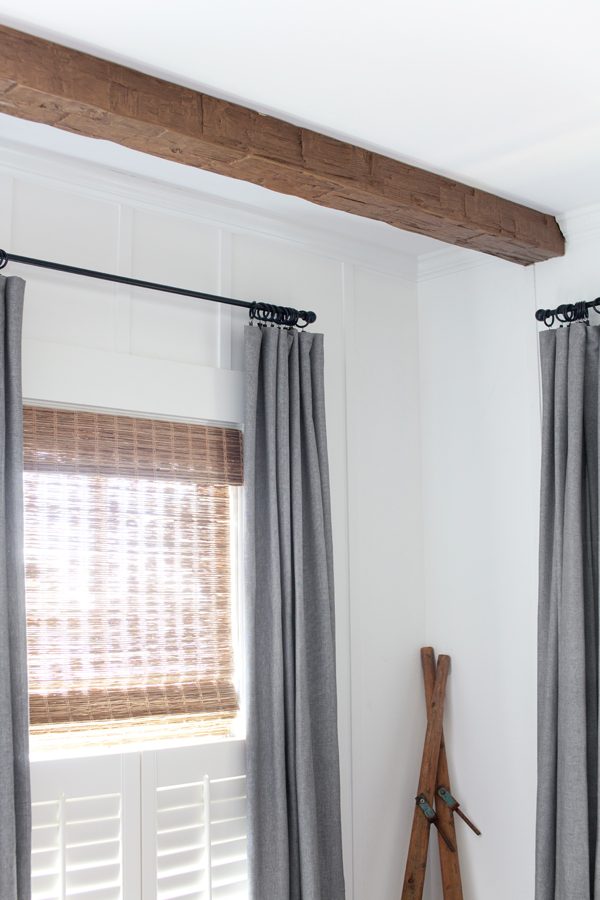
Excuse the missing curtain in this next shot. The rod went up a few days ago and I just haven’t gotten around to hanging the curtains up:

There were lots of colors and styles to choose from. We chose their Hand Hewn “Old Tuscan” Beam in a 4″x 6″ x 16′ size, and the color is Light Walnut.
Here’s a photo of the samples they sent us to choose from:
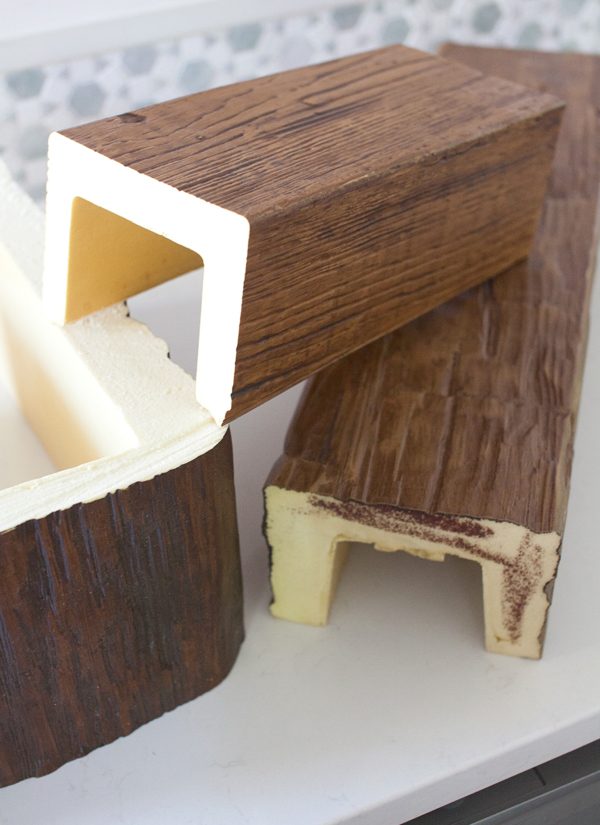
The one on top is “Sandblasted” in the color Fall Leaf Brown, and the one on the left is “Old Timber” in Coffee bean. The one we chose is on the bottom right. It was a little less orange/”perfect” than the one on top, but not as dark as the one on the left. (We didn’t want to go dark because we wanted them to look a little different than our floor, which is dark.)
They’re lightweight (because they’re made of foam) and they’re a lot easier to install if your room is cleared of all it’s furniture. Here’s a photo of the 2″x4″ chunks of wood Brian the Carpenter attached to our ceiling in order to hold them up:
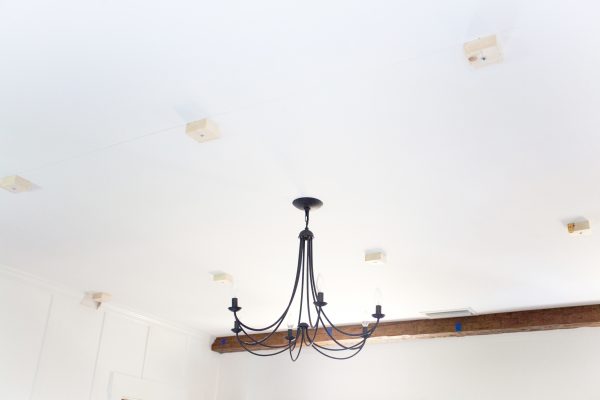
He started by notching out spaces in our crown molding, and then he drew pencil lines across the ceiling using a very long (six-foot?) straight edge. Next, he used heavyweight drywall anchors and screws to hold the chunks of wood in place. He marked their position with painters tape so he knew where to nail the beam once it had covered them up. (He used a pneumatic nailer for that part, by the way.)

I’ll be posting some wider shots of the room once I have a few more things decorated and I’m ready to blog about the what we’re in the middle of doing on the 4th wall in the room…a.k.a- the one opposite the bed. Got any guesses? 😉

PS- For those that might be wondering, the ceiling in our bedroom is 9 feet tall.
![]()

That beam looks amazing! LOVE it! I also love how you hang up curtains on the rods to hide the brackets. Genius! I am totally going to adjust mine now. haha, thank you!
Do your beams run the same direction as the wood floors or opposite? Love, love love your new room.
Holly
My guess is a wall of bookshelves for Tv and office stuff (?). I love how all of your spaces are coming together now, and your exterior is getting the color you’ve always wanted… All in time for the little man to come home!! ~Kim
Love this! Where did you get the quilt on your bed?
Thanks, Carolyn! We got it at an antique mall in Florida. I think it was originally sold at Sears. The tag says “Nobility”.
I can’t wait to see it all. Love the look of the beams. Look so real. I wonder if I can find them locally or if they must be ordered? Anyway, just when I think your room can’t get any better, it does!
I love how your room is coming together! The beams look great and I can’t wait to see the rest of the space!
Love, Love, Love!!! your room is turning out, just so lovely & bright. Love the striped pillow on the bed.
I LOVE LOVE LOVE the wood beams!!! Oh my! I am inspired.
It’s so funny to me that we added the same kind of faux beams to our living room in the 80s! It’s probably the only thing from the 80s that I am okay with coming back. LOL!
My Mum and Dad had a real beam put in their dining room years ago and wow was that thing heavy! It took several people to lift it!
That is SO NEAT! I am definitely going to keep this in mind when I get my own house. Thanks for sharing!
It looks so awesome in there and hmm lemme guess on that opposite wall your doing a Gallery Wall?! (ps you are awesome at those).
Lauren | Lovely Décor
xx
The chandelier (love it!!) in this room is what I am looking for in our house. What is the brand and where did you get it?
I have loved the look of beams for a while now. Love that there is a faux beam option. How did you decide how many beams to put in your bedroom & how far apart did you space them?
Love this look!! Thx for sharing! I’m curious like the last comment! ? How many did you end up using in your room and how far apart to space them?