Happy Friday, friends!
We’re tackling another a fun project in the Bungalow Barn today, and I look forward to sharing photos of the finished product on Monday. It’s the desk area in Jim & Katie’s master bedroom. Kevin’s dad spends a lot of time drawing at his current desk, and this one will look a lot like it, but he’ll have an extra foot of surface space, and more storage underneath.
Step #1: Stikwood.

Here’s a link to the style we used: Hamptons.
It’s the same stuff we used on the back wall of the bathroom, and since this wall runs the same direction, and you can see both of them when you enter the bedroom, I thought it would make sense to attach some here too.
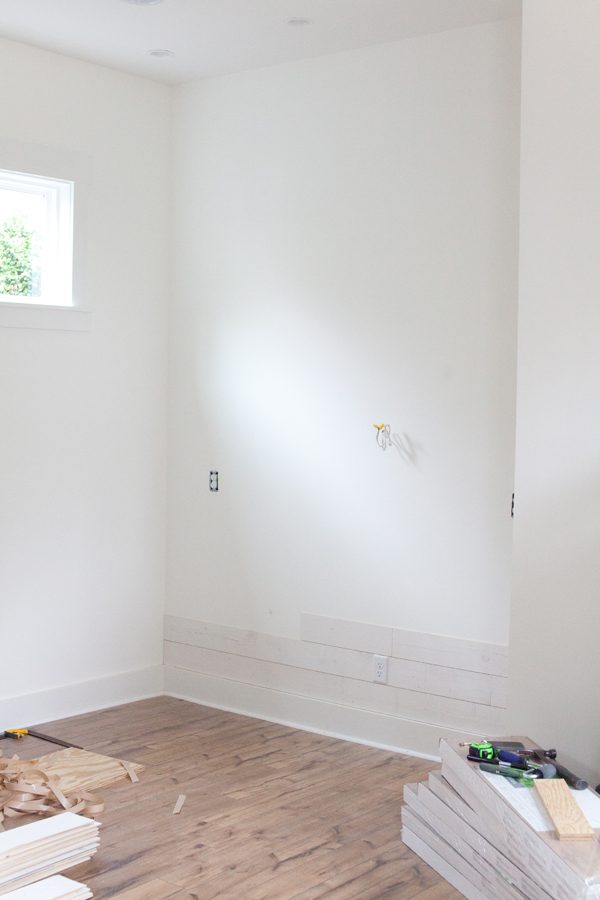
And here’s a helpful hint. In hindsight, I wish Brian the Carpenter had started sticking the boards at the top and worked his way down, so that the skinniest board wasn’t located up near the ceiling. Unfortunately, it’s too late now, but it’s nothing a little crown molding can’t fix! 🙂
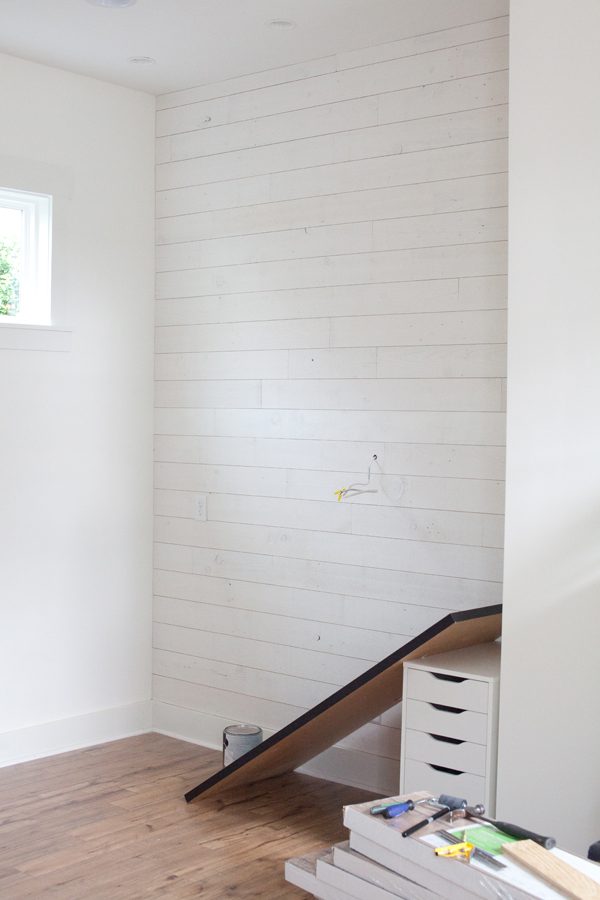
Today, I’m going to paint all the planks with a light coat of Simply White paint (to match the drywall), and then Brian will install the shelves and work on the desk. Which, by the way, is currently sitting in our master bedroom:
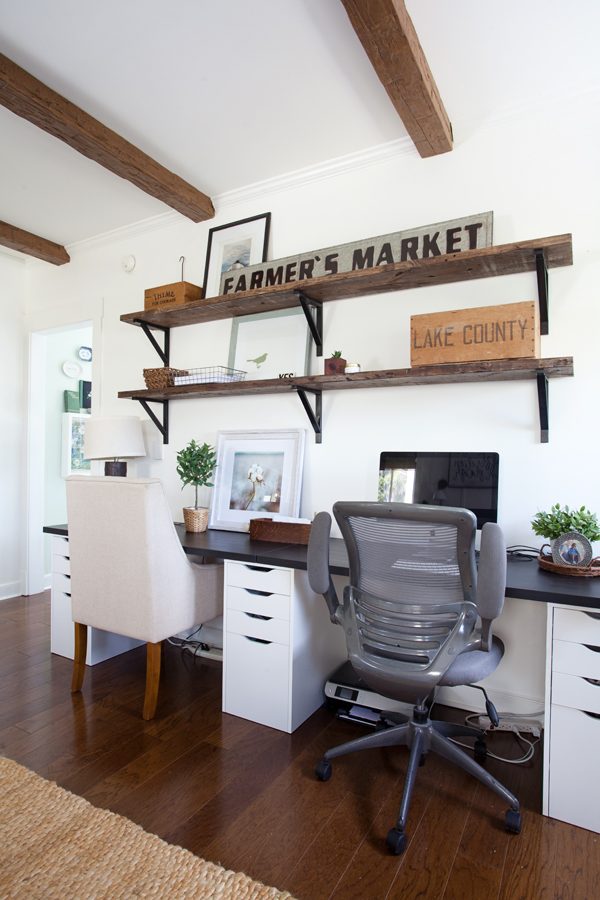
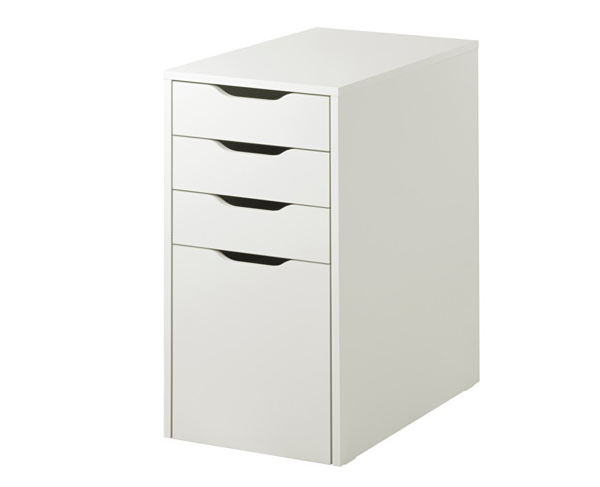
We never ended up using it as a workspace (more like a dumping ground for laundry!), so we’re going to move the whole thing into Jim & Katie’s room, because we know Jim will actually put it to good use. The cabinets and desktops came from Ikea.
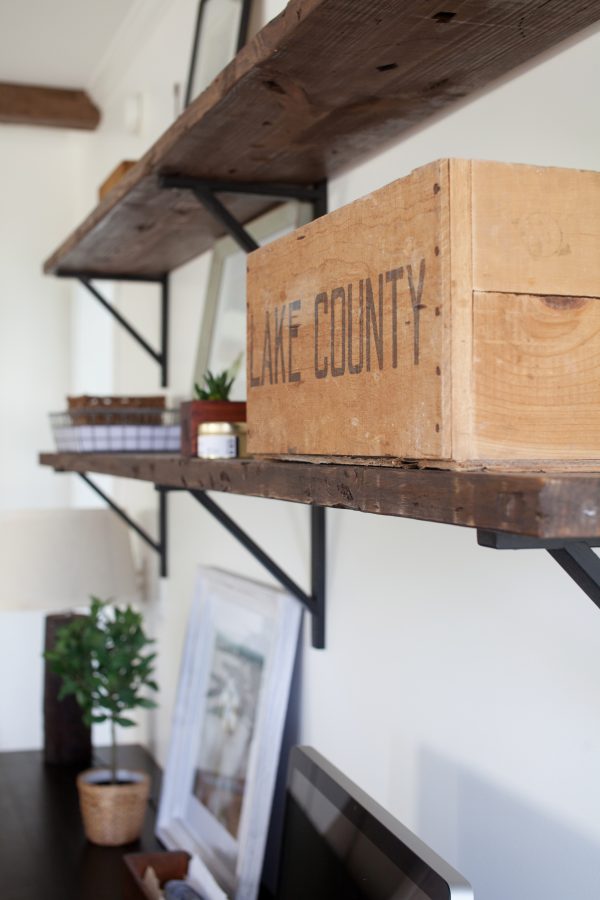
The brackets also came from Ikea, and we made the shelves out of 2″x12″s from Home Depot. I just had the guys beat them up and then I stained them with Special Walnut.

We’ll have to cut down one of the desktops a couple of feet because it’s too long, but the depth is absolutely perfect, which is great.
Okay, my friends- I’ll be back soon with an update…and if you want to follow along throughout the day, I’ll be sharing our progress in my Instagram stories, too! 🙂
Layla

When do they hope to move in their bungalow?
Whenever it’s done and whenever everyone is ready. No rush. Getting Sonny boy transitioned is priority #1 for all of us. 🙂
loving those shelves…swoon.
and i think i need stikwood in my life. thank you!
I love everything!
You mean the guys from Home Depot beat up the 2 x 12 boards? How did they do it? The look is just what I want to know how to do.
Thanks,
Amy
No, I meant Kevin, Brian, Cade (Brian’s son) and Steevenson. 🙂
Did you make the beams in this picture? If not, do you mind telling me where you purchased them from?
Love the Stikwood, did you just peel and stick or did you also nail?
Coming along quite nicely!
It’s coming along nicely! 🙂 Did I read correctly that you’re going to paint the stikwood planks?
Just a heads up, I learned from experience that the IKEA desktop is hollow core. If you are cutting a couple of feet off one end then that side won’t have the plywood edge reinforcing it anymore.
Sheesh, that stikwood is EXPENSIVE!! It is awesome looking and I love how easily it appears to install, but I think I’d probably go a cheaper, DIY route!
Yeah, it definitely depends on your budget how much wall you can cover, but I *love* how thin it is. Makes it nice to not have to take off existing door, crown and base molding. An easy, quick DIY project, for sure! 🙂