Well, we’re one project away from finishing all the construction-related stuff at Keith the Fireman’s house and then it’ll be time to decorate! 😀
Last week, we tackled his tile hearth. Here’s what it looked like before we started:

The goal was to cover up the existing tile with something so that it looked like concrete or stone.
Step 1 involved troweling on two very thin coats of SkimStone’s bonding primer.
If you’re using SkimStone over a tile floor or laminate countertop, they say to use two coats of bonding primer. Here’s a photo of Keith troweling on the first coat:
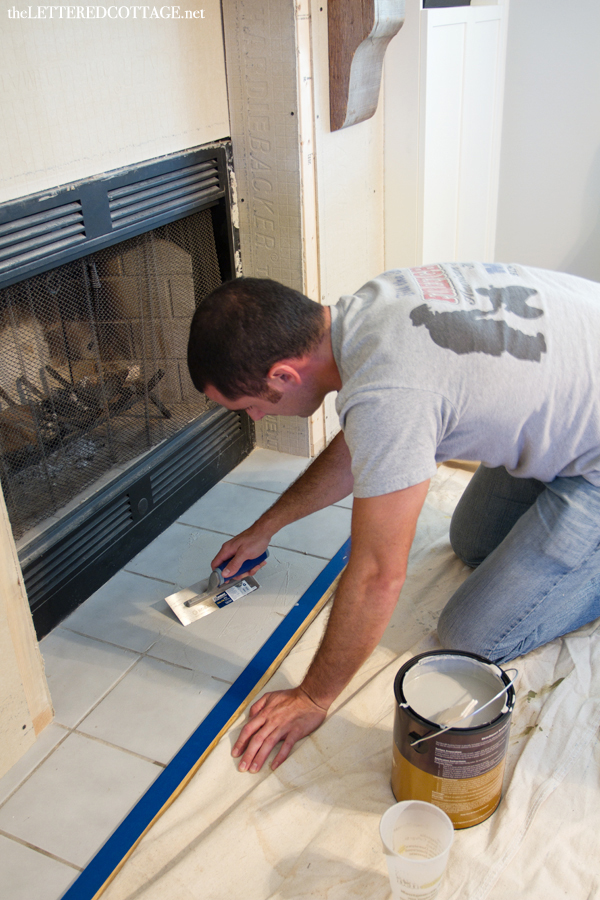
He applied the second coat about 4 hours later, and then used a large sanding block to smooth it all out the next day.
Once every speck of sanding dust was cleaned up, we moved on to Step 2: Applying the Basecoat.
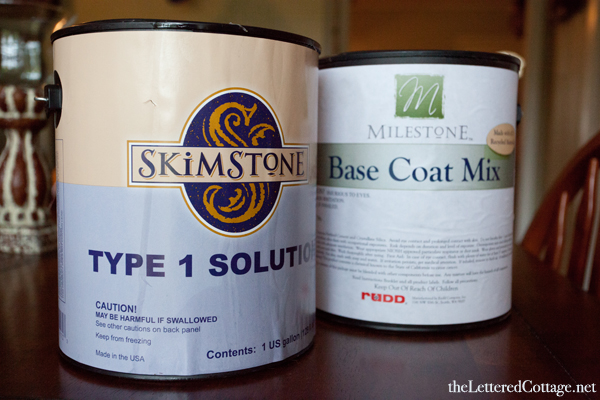
There are some really great video tutorials on the SkimStone website, but here’s some text from the folks at SkimStone that explains what to do for step 2-
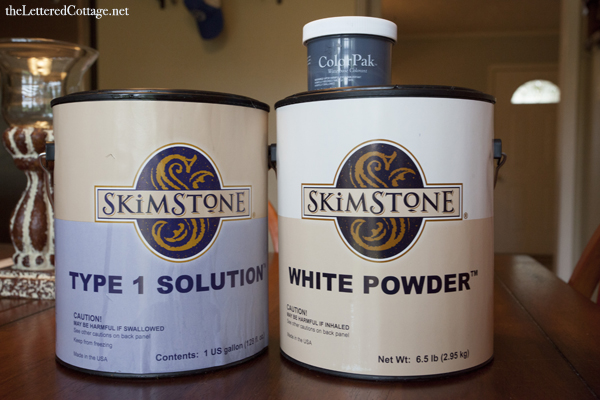
Mix 1 part Type I Solution to 2 parts Basecoat Dry Mix. If you want, you can also add a little White Powder to the mixture. It helps keep the aggregate in suspension. ALWAYS add the dry ingredients gradually TO the liquid. (Not liquid to dry.) Trowel apply 2-3 coats – no more than 1/16” thick. Let dry at least 2 hours between coats. If it’s really humid or temperature is colder, it may take a little longer. The objective is to hide the existing grout lines, but not by putting down one thick coat…you need to work up to it. Let the final coat overnight dry.
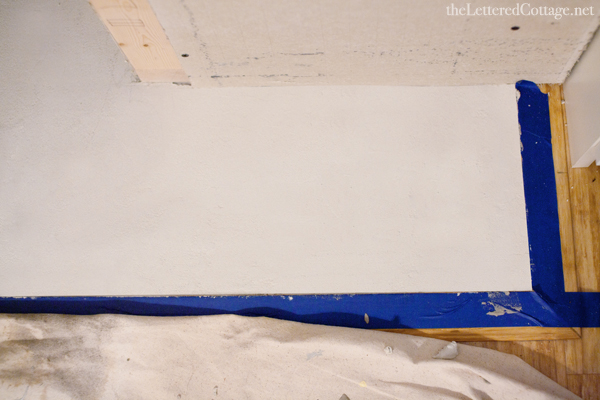
Here’s a photo of how the hearth looked after Step 2 had fully dried:
Next up was Step 3: Applying the Color Coats and the SkimStone. We did it by mixing these three products-
Here are some text instructions about this step-
Use the color calculator on SkimStone.com to calculate how much White Powder to mix with Type 1 Solution and colorant. Most people apply 3 coats of this mixture – each one mixed thinner than the previous coat. That’s how you get the wonderful textured appearance. Once again, it’s troweled on super thin. When we say thin…we mean THIN. You should see some of the Basecoat peeking through the first color coat. I often tell people to put it down as thin as a dollar bill. Let the Color Coats dry over night.
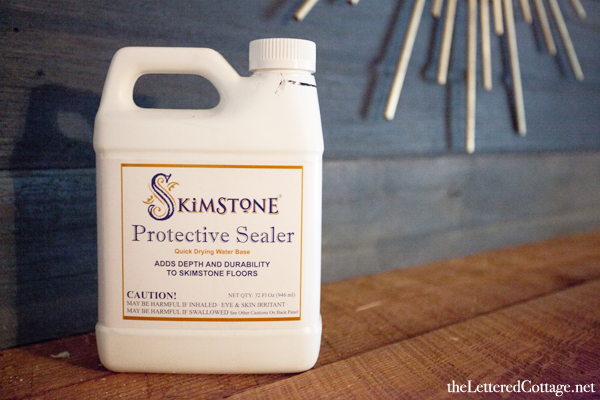
Last up was Step 4: Applying the Protective Sealer.
My contact at Skimstone said-
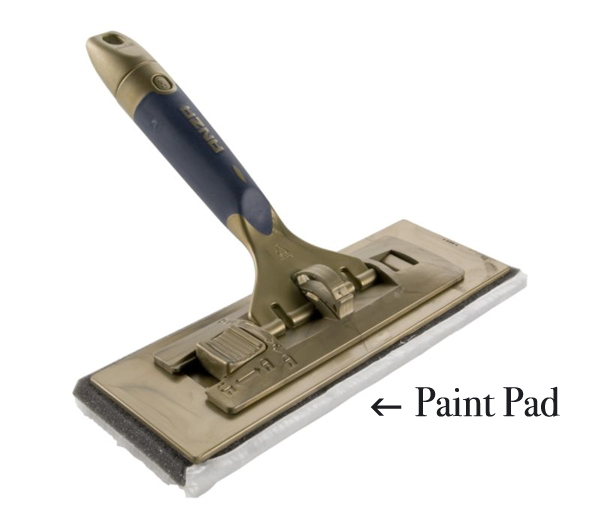
Put it on with a fresh, new paint pad (knock/rub out all those pesky fuzzies first). The sealer should be applied in very thin coats too, but it and dries much faster. 4 or 5 coats should do the trick!
Keith applied the last coat of Protective Sealer on Monday night, and here’s a before and after look at the finished hearth today:
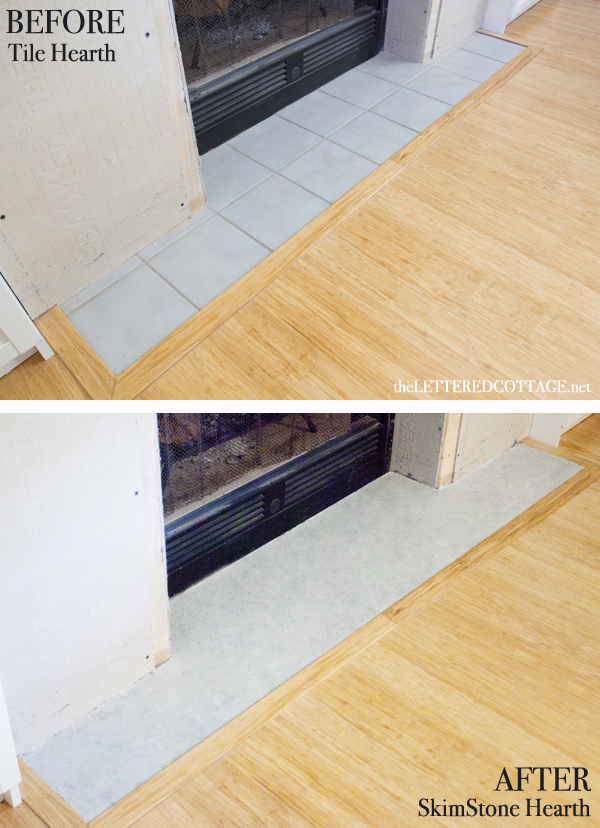
It was really tricky working with the trowel within that wood trim on the floor, but the hearth really does look and feel just like concrete/stone now! #yessss
I didn’t know how this project would turn out (I just cross my fingers and hope for the best when it comes to projects that involve math!), but now that it’s done, I’m so glad we decided to give it a try, and I’m pumped that Keith is happy with the results. 🙂
We’re going to tackle the last construction project next week (attaching faux stone on the front of the fireplace), and I can’t wait to see how it turns out. Hopefully I’ll be back with a post about how easy it was next Friday- LOL!

