Are you having a good week? Hope so!
If you downloaded, left me a comment or emailed me about my book– I want to say thank you! You’re a real day maker and I appreciate your thoughtfulness so much!
🙂
On the homefront- things are moving along nicely in the reading room. That being said, Kevin has had a lot going on musically lately, so he hasn’t had quite as much time to “fix ‘er up” as usual. (That reminds me, quite a few people have asked about his music. This is one of my favorite songs/videos of his. Kevin’s a pretty shy, low-key guy, and he’ll probably make me delete this part when he sees I’ve included it- so watch it quick if you want to see/hear it!)
So far, he’s removed the drywall from the ceiling, to expose the wood planks that were hiding underneath…
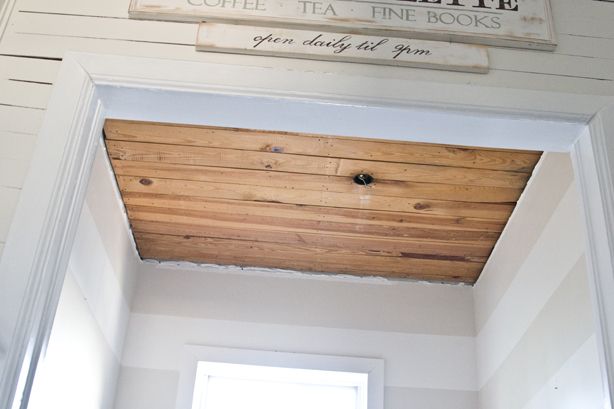
For those who asked about how exposing the wood ceiling would affect our power bill, I’m happy to report that the planks are tongue-and-groove and there is a thick layer of insulation above them. There’s also a plywood floor on top of the insulation in the attic. And for those who wanted to know what was on the ceiling before the drywall was installed, well, all that originally covered the wood ceilings was a thin layer of wallpaper that had a fabric backing that was secured to the ceiling with little tacks. Weird huh? The wallpaper was sort of a dusty mauve color, and had little silver lines on it that resembled fireworks. We have found it underneath every bit of drywall we’ve removed from the ceilings on this side of the house, so apparently someone was into it. Big time.
Kevin painted the ceiling in the reading room a light blue color (that has just a touch of green in it) called “Sea Salt” (Sherwin Williams). We had about a half a gallon left over from when we painted the walls in the guest bathroom.
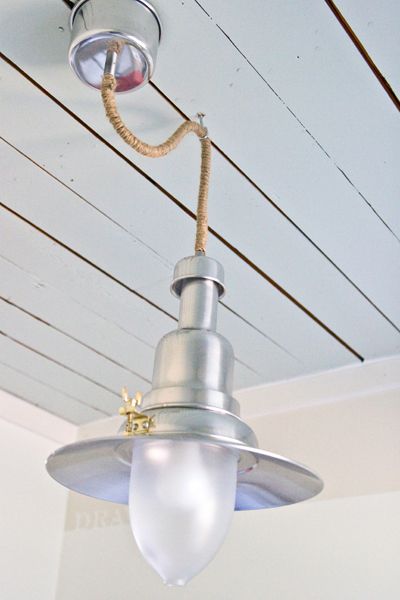
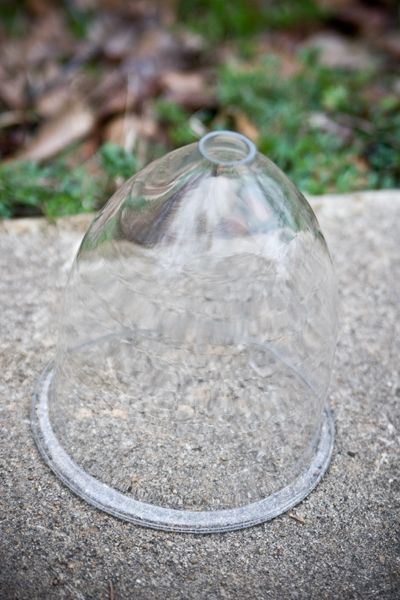
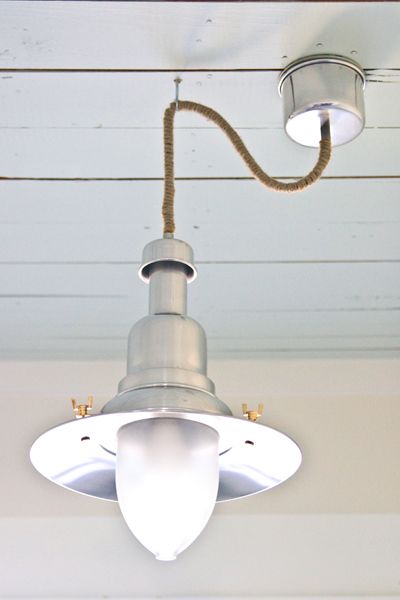
The light fixture is from Ikea. It’s called Ottava. We bought it last year for $29.99.
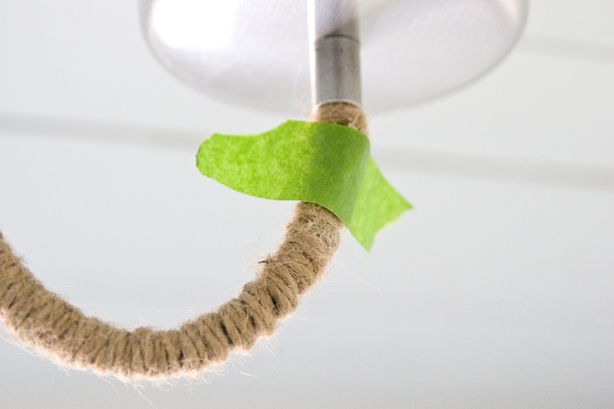
I loved the look of the fixture itself, but the black cord was contrasting with the rest of the room too much. So I used some jute twine I had from another project to cover it up…
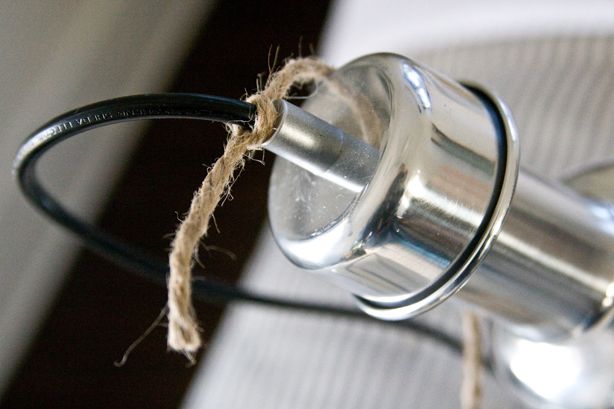
First, I tied the twine in a knot, closest to the fixture. I covered up the short end of the twine by holding it flush against the cord and wrapping the rest of the twine around it.
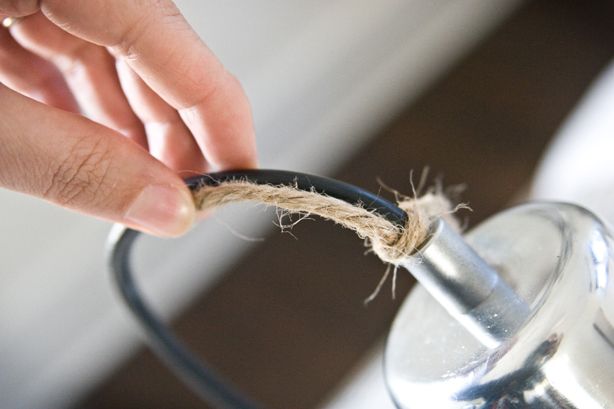

After we hung the light I tied the other end into a knot. Then I cut end off and used some Tacky glue to hold it up against the cord. I used a piece of painters tape to hold the loose end in place while the glued dried…
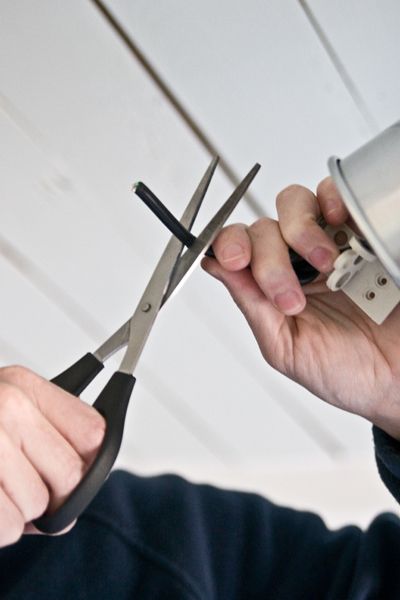
As for the electrical stuff, well, we had to cut the cord a little shorter to make it look right. If you ever need to do something similar, it’s really no problemo.
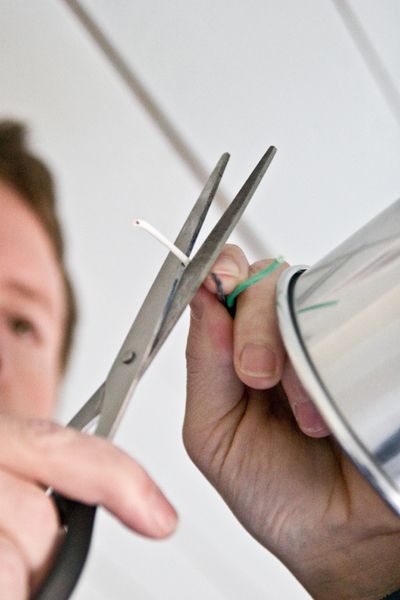
Just figure out where the cord needs to be cut, and carefully score the outer part of the cord with a pair of scissors (unless you are fortunate enough to own the tool that electricians use to do this type of thing)…
Once you’ve got it scored, slide the outer cover off…
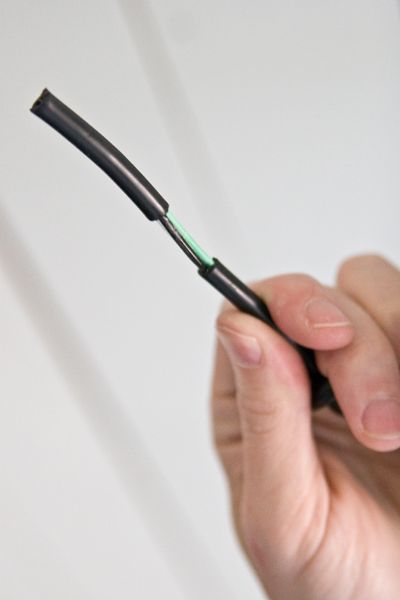
Inside, you will find a black, a white and a green wire…
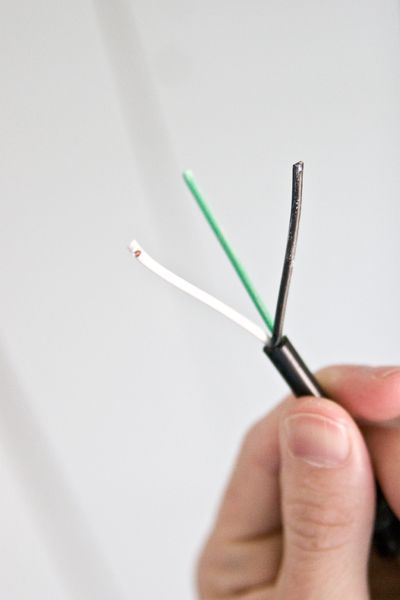
Carefully score the covering around the wires…
Finally, whatever you do- do not leave the room to go check your email at this point. If you do, your husband may not remember to take any more photos of this process because his hands are full, and he’s sitting on top of a ladder with live wires in his hands.
(Yeah. Oops. Forgot to turn the power off before we started working. Don’t recommend doing that either.)
Because I did leave the room to go check my email, I don’t have any photos to show you the next few steps, but it’s really pretty simple. Twist the black wire around the black wire in the ceiling- then cap it off with a wire nut. Twist the white wire around the white wire in the ceiling- then cap it off with a plastic wire nut. Twist the green ground wire around the ground wire in the ceiling- then cap it off with a plastic wire nut. Easy breezy!

(Plastic Wire Nuts)
Design is definitely in the details, and since our fixture hangs way above eye level, I took an extra step to make sure the unsightly light bulb looked a little less unsightly by frosting the glass on the fixture.
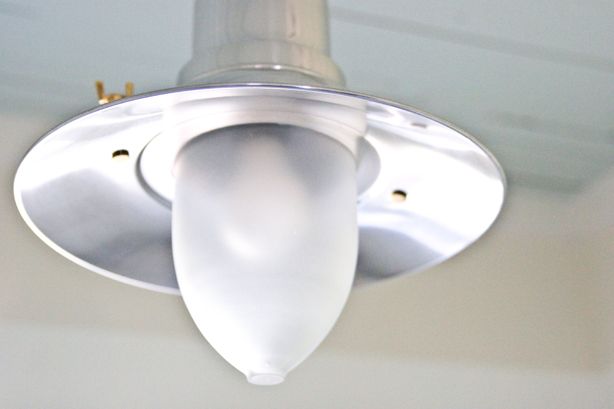
Also, because this bulb hangs above our heads, the light was a little too harsh without the frosting. Now it isn’t as difficult to look at the light fixture. I think we’re going to install a dimmer switch to decrease the harsh factor even more, too.
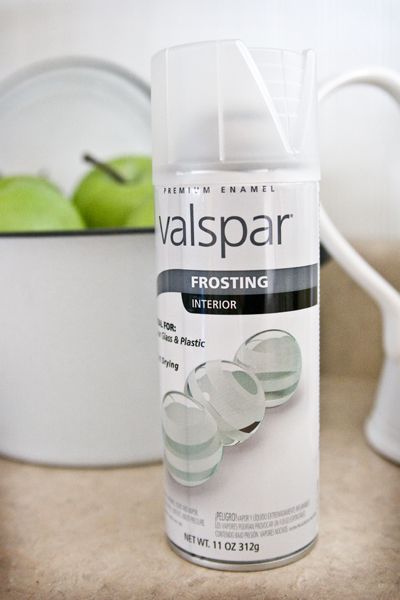
(available at Lowes and Home Depot)
I sprayed on two coats, and let each coat dry for about an hour.
So, here’s last weeks light fixture…

And here’s this weeks light fixture!
I think we’ll stick with this weeks.
🙂
Next up, window treatments! Kevin built some shutters and I made some cafe-style curtains out of vintage linen napkins. More photos coming soon!
Happy Thursday,
Layla
————————————————————————————-
Check out my e-book “Creating an Inspired Home”!

