I’m in a plant-y mood lately, are you? I picked up this faux stone planter at Jo-Ann’s Fabrics & Crafts last week when I saw that it was 70% off…
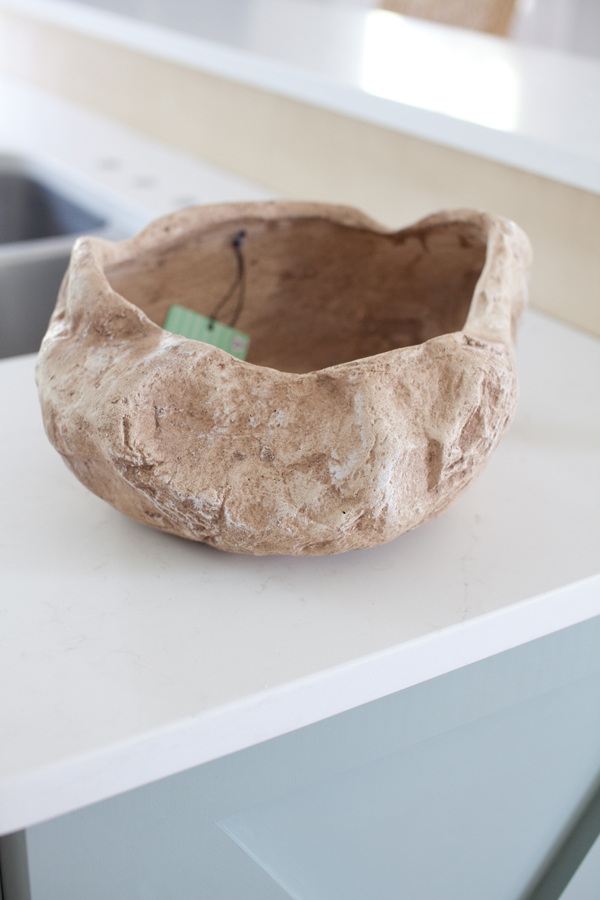
(Snapped that pic before the kitchen faucet went back on- ha!)
It wasn’t quite the color I was looking for, but I really liked the shape & size (and price!) of it, so I thought it was worth experimenting with.
This is the first time I’ve ever attempted to faux paint something like this, but I think it turned out pretty cool, so I thought I’d share my steps here in case anyone else is interested in trying it too. 🙂
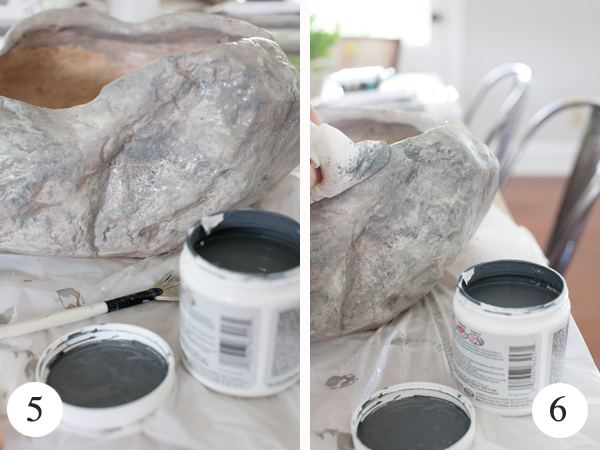
First, I dry-brushed on some off-white paint with a sponge brush. Second, I used my fan brush to slop on some very watered-down gray paint. Third, I dabbed some of the gray paint into the deeper crevices on the planter, and then before it was completely dry (4), I covered everything with more watered-down gray paint.

Fifth, I used my fan brush to apply some even darker gray paint into the crevices and anywhere I could still see the original (peach) color. Sixth, I used a dry paper towel to dab off the bulk of the dark gray paint before it dried.
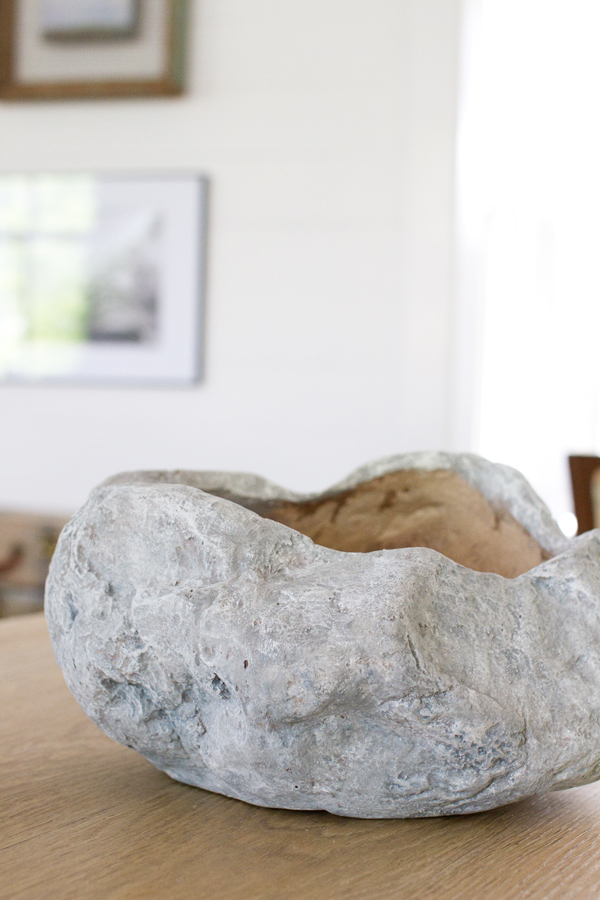
Last but not least (and this is really what makes it looks the most realistic), I used my fan brush to dry-brush on a very thin layer of off-white paint over the entire surface. Here’s a photo of my “stone” after it had fully dried:
Next, I sealed it with (matte) Mod Podge…
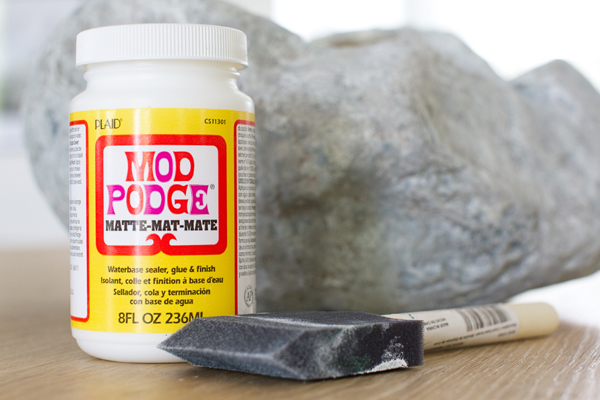
…and voila!
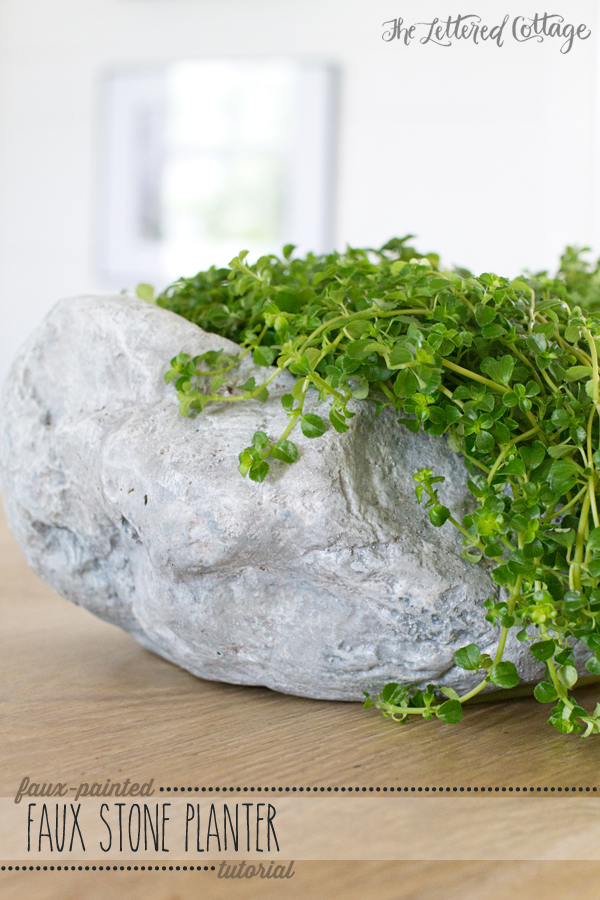
It has a hole in the bottom of it for drainage, so I filled it with potting soil and a Baby Tears plant, and it’s now living happily every after on our front porch. 🙂

PS- In honor of Kevin’s 40th birthday this Saturday, ShootFlyShoot.com is having a 40% off sale this weekend! It’ll start at 9am (CST) this Friday morning and run through 10pm (CST) Sunday night! 😀

I LOVE it!
Oh wow, looks so real. What a transformation! Love it!
Very creative. Love it!
How cute is that!? I love that you don’t let color be a deterrent. I’m slowly beginning to realize a little work is worth the effort if you can find the right shape and size of something.
Aren’t you a creative smartie pants??? I mean that in the best way!!!
Such a terrific make-over. What an awesome gift this could be for a friend.
I’ll forward my address. LOL.
Layla, you are something else. Your brain just amazes me. When you wake up, in the morning, what is your brain thinking?????? Do you wake up, paintbrush in hand????
Love ya!!!
You. Are. Awesome!! So creative- it’s gorgeous!! I am going to go to the store here and see if they have any on sale, too!
Love you!
I love it!!! I love when you post projects!!! Reminds me of your older posts that I was always loved!!!! Thanks!!!
I’m totally in a planting mood, too! I’ve been on the search for new planters each time I go thrifting – I love what you did with this one!!
WOW. That looks amazing!!
I thought I liked it in the before picture, but I love it in the after! Great job!
Fantastic job! I need to get it in m brain that if something like this is not quite right–like the color–it can be changed. I have let too many great things go because I forget this fact! Thanks for the reminder 🙂
You have such an eye for things. That rock is gorgeous!!
Very realistic! On another note, how do you air your house out after major paint jobs? We has our cabinets painted (with oil!) and the smell is still here 3 1/2 days later. I open windows and it just seems to keep coming back! I was curious if you all did anything to help the process?
YOU MAKE IT LOOK EASY!
Layla: What a great idea! I may have to go to Jo-Ann’s, today!
Kevin: Happy (early) Birthday!
I have done the same thing to many pots and knick knacks in my house over the years as my taste and colors change. It is so much cheaper to just buy some 99 cent bottles of craft paint then replace things all together. Looks great!
This turned out so well! I love taking a bargain and turning it into something perfect for my own home. Hmmm wonder if my JoAnn store has these on clearance… : )
I like your rock and I want Kevin to celebrate his 40th birthday by reading a letter that says, COME TO HAITI!!!!
Layla, great idea, thank you for the step by step pics. Going to Jo-ann’s to get me a rock and giving this a try!
Love the planter. I just wish I had a green thumb! I see all these neat terrariums and planters, but I can’t even keep a cactus alive ;).
That is so awesome! You make me want to drive out, buy one, and give this a try. Thanks for sharing your rockin’ painting skills.
Shannon ~ bohemianjunktion.com