Hello- and welcome to our first “Spring Fling” link party!

We’re kicking things off with a mantel/shelf/ledge link party here on our blog today, and Kate, Rhoda, and Sarah will be hosting some more Spring-themed parties on their blogs on March 22nd, 27th and 29th!
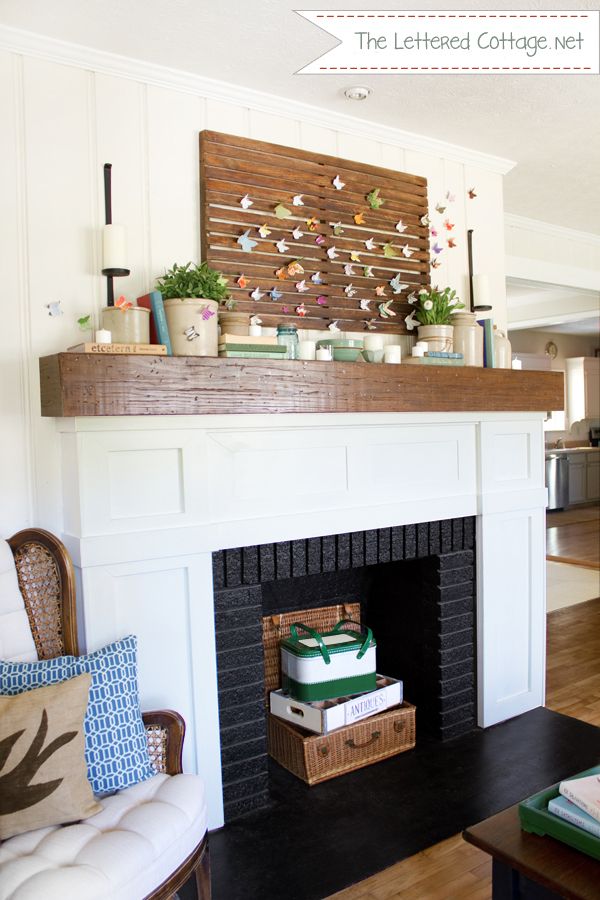
I always look forward to Spring cleaning/decorating. It’s my favorite season, and I can’t tell you how much I enjoy throwing open the windows, throwing out a bunch of stuff (not out the windows- hee hee), and livening up the place with a little more green! I sprinkled it into our living room in the form of books, butterflies, a vintage metal picnic basket the other day, and I’m loving it! I also used a couple of (very realistic-looking, if I do say so myself) faux plants from Ikea…
I hope they live ’til Summer!
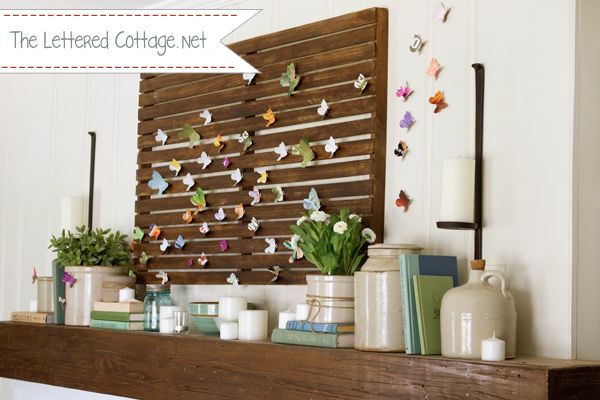
We made the wood art out of some 1×2’s and some “fill-it” strips from the fencing department at Home Depot, and I stained it with a combination of leftover “Special Walnut” and “Provincial” stain we had from other projects. When the stain was dry, I used our electric hand sander to give it a little age.
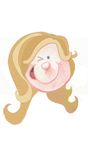
Next, I punched a whole mess of butterflies out of some old magazines I had, and I love the swoosh of Spring they add to the the room!
(The one in the upper left hand corner reminds me of my bike-ridin’ Mom. Hi Mom!)
I got the butterfly punch at Hobby Lobby ($14.99), and each paper butterfly measures about 2 inches across. To give the flock(?) a little more interest, I made a handful of larger butterflies by enlarging one of the 2″ ones with my printer, and using it as a template to create some 3″ ones.
(Update: Turns out a group of butterflies can be called a rabble, a swarm, a lek, a flutter, or a kaleidoscope. How fun is that?!)
I used “Simply Tacky” mounting putty (from Hobby Lobby) to hold all the butterflies in place…
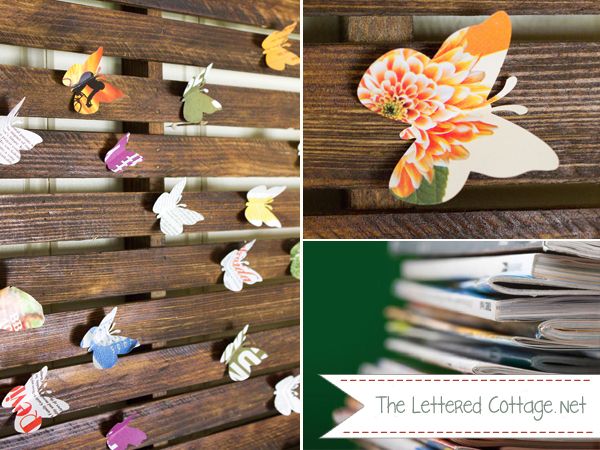
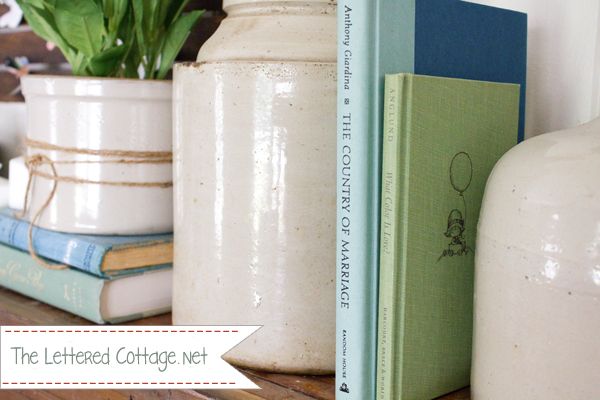
…and I got all the old crocks from my Grandma the last time I visited my family in Minnesota. I wrapped a couple in twine because I love mixing those kinds of textures…
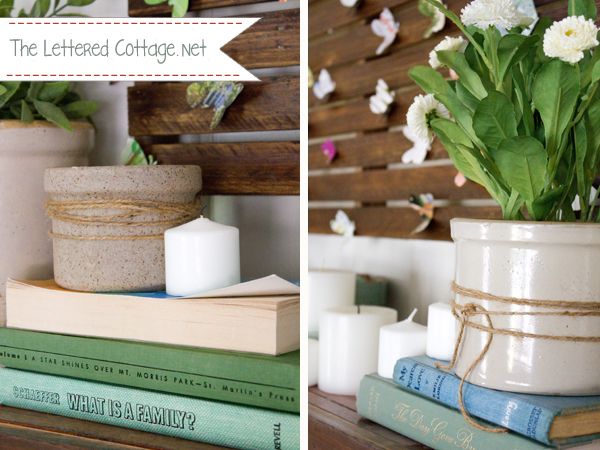
The crocks have actually been up on our mantel since last Fall, and it’s amazing how versatile those suckers are! They were fun to mix with mercury glass around the holidays, too.
Springtime = fiiiiiinally being able to enjoy walks and eating lunch at the park around these parts, so I thought I’d create a little picnic-themed display down below our mantel while I was at it, too…
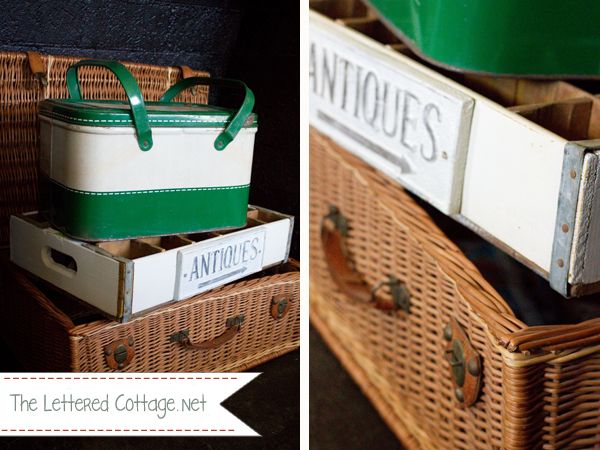
And can I just say that all those vintage metal and leather bits drive. Me. WILD?
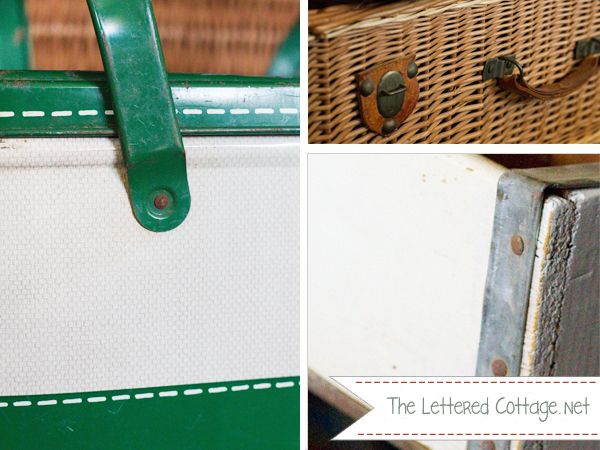
(metal picnic basket ; wicker picnic basket ; soda crate)
Love ’em!
Anywho, it was a super fun/super inexpensive display to put together, and we’re really enjoying the fresh new look in our living room!

Alright! Let’s get this link party started!
Many of you probably already know the drill, but just in case you’ve never linked up a blog post before, here’s how it works:
Scroll down until you see the little, blue “Add Your Link” button. Click that, and follow the instructions on the page you’re redirected to. The instructions involve uploading a thumbnail image and creating a title for the image you’re using. You may want to title it with the name of your blog, or with the title of your Spring mantel/ledge/shelf display post, but it’s totally up to you. (Note: make sure to link to your Spring Fling post- not to the main page of your blog.)
Last but not least, I created a nifty little badge especially for this party, and we’d love it if you’d post the code in the box below at the bottom of the post you’re linking up…

<div align="center"><a href="https://theletteredcottage.net/spring-decorating-link-party" title="The Lettered Cottage"><img src="http://i268.photobucket.com/albums/jj29/LaylaPalmer/Linky%20Buttons/Spring_Fling_Button_Layla.jpg" alt="The Lettered Cottage" style="border:none;" /></a></div>
Thanks so much for partyin’ with us this week, and here’s to an amazing Spring!