Welcome to Mantel Mania!
I’ve decided to ring in Spring by hosting a week-long “blog-stravaganza” devoted to sharing ideas about all things “mantel”.
I don’t know about you, but I have found that decorating a fireplace mantel can be extremely challenging.
There’s such a fine line between displaying things on them that enhance the peaceful ambience a fireplace is supposed to provide, and displaying things on them that detract from that ambience because they just don’t work for some reason or another. Maybe they’re the wrong color, size, shape, texture…there seems to be a number of factors involved in creating an aesthetically pleasing display. This week, I’m going to make it my mission to round up as many great mantel decorating ideas as I can, and I’m hoping you’ll share your ideas with me throughout the week too!
Today, I’m going to share how I decorated my own mantel for Spring. And since I like to change up the look of my mantel seasonally, I’m thinking I’ll blog about a new look every three months too. (A Spring mantel in March, a Summer mantel in June, a Fall mantel in September, and a Winter mantel in December.) But during “Mantel Mania”, I’ll be blogging about all types of different mantel set-ups, not just Spring ones.
Let’s begin, shall we?
When we bought our house in October of 2007, this is the fireplace we were greeted by when we came through the front door…
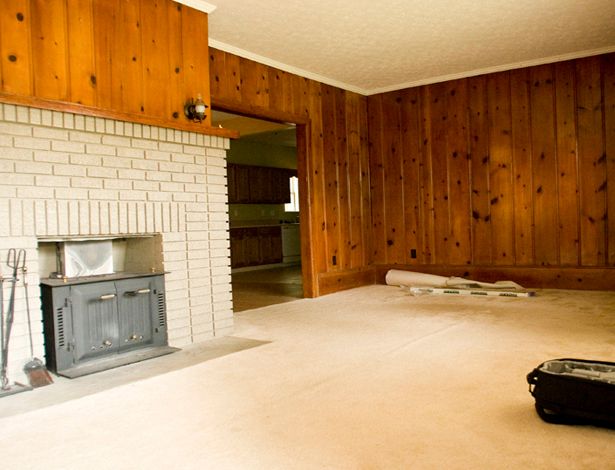
Okay fine. I just threw that in there to make my “after” photos look better.

After a couple hundred bucks in primer, paint, stain, wood and decorative accessories, here’s how our fireplace looks today…
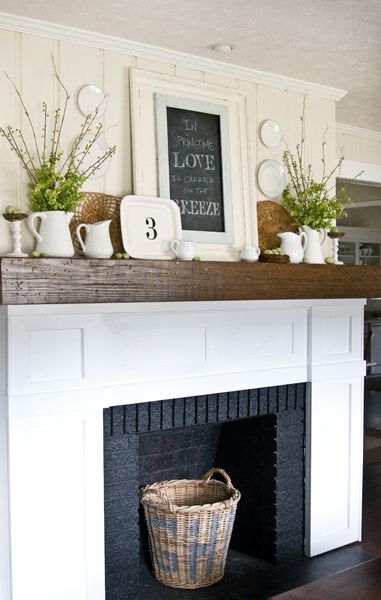
The new look may not be for everyone, but for us, the whole thing feels much more welcoming, and more cohesive with the vibe we’re trying to create throughout the rest of our home. Not to mention, the proportions seem to make more sense now too. Yesssss! (Napolean Dynamite)
(If you’re interested in learning how we built the surround, click HERE)
As for the Spring-inspired decor, well, I used a bunch of stuff I already had, some new stuff and some inexpensive flea market finds I bought the other day. In case you missed it, here’s the video I shot while shopping for “junk” the other day… (Feel free to skip the video if you’ve already seen it!)
The day after I shot my video, it was bee-yoo-ti-ful outside. So I marched out back with all my little mis-matched pitchers and candlestick holders, and crossed my fingers the primer and spray paint would adhere!
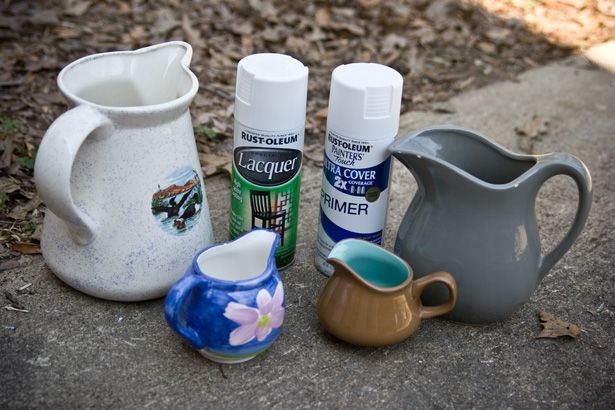
First, I sprayed on the primer…

Then, I used a variety of items to hold everything upside down so I could get the bottom parts of them good too…
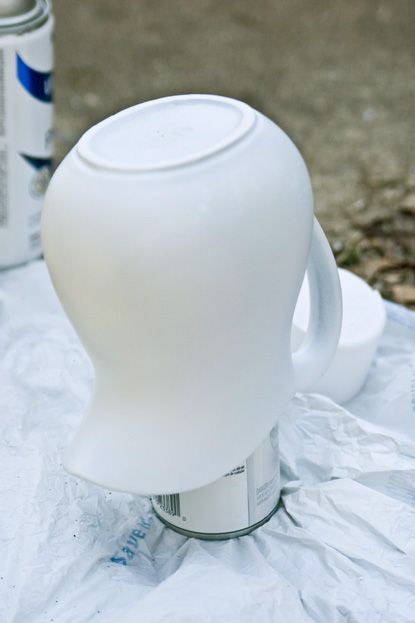
Tip: It’s best not to do this project on a windy day.
Unfortunately, I learned this very important lesson the hard way.
At one point, a gust of wind blew up the corner of one of the plastic bags I had everything sitting on, and created these little bits of loveliness…

Grrrr.
I’m sure it could’ve been sanded off, but who has time for that, right?

The good news is, the primer and spray paint trick worked, and I just ended up turning the pitcher around to the “good side” once it had dried…

The little “nest” is actually two, tiny grapevine wreaths (they come together for $1.99) from Hobby Lobby, and I got both rattan chargers for $1.00 each at a flea market last year.
The other pitchers turned out great too…

Remember the loons on the pitcher on the left in the photo below? I made sure anything I bought felt completely smooth to the touch (no decals). A decal would have stuck out a little and it would’ve been obvious that I painted over a “sticker”.
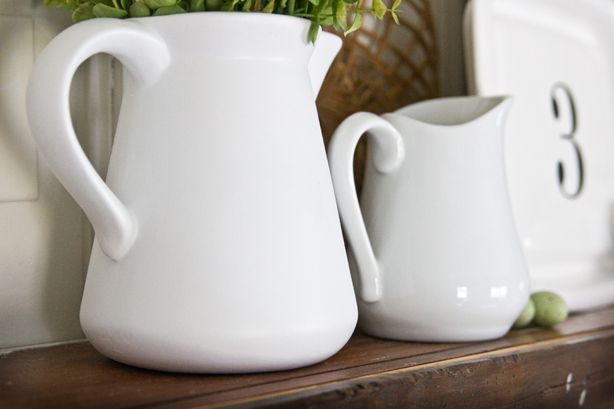
The little ducks covered up nicely too…

And instead of a candle, I just used two little nests (also from Hobby Lobby) on top of each candleholder…
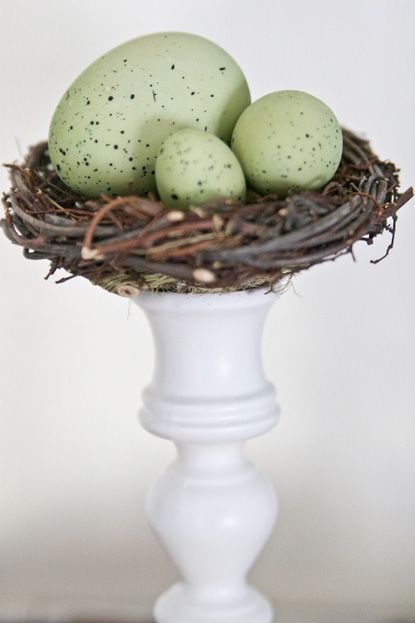
I got the eggs at HomeGoods several months ago.
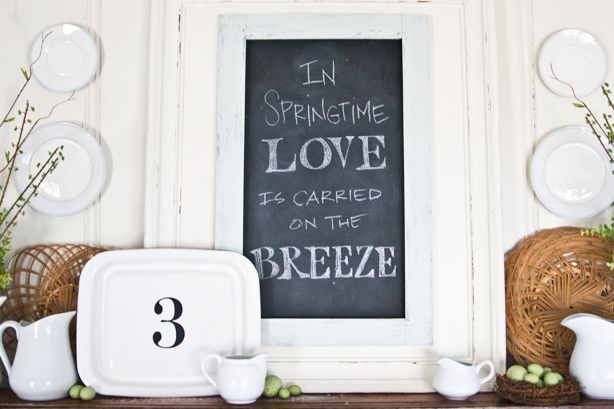
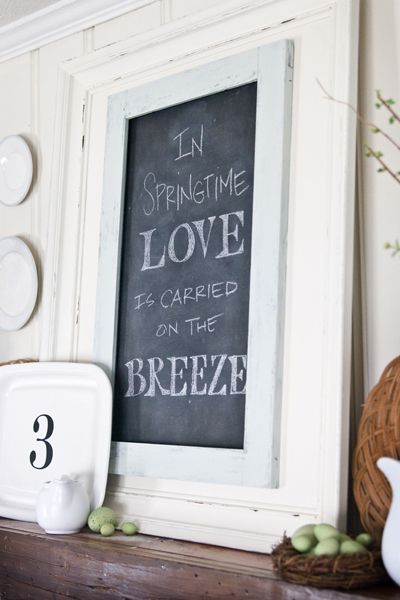
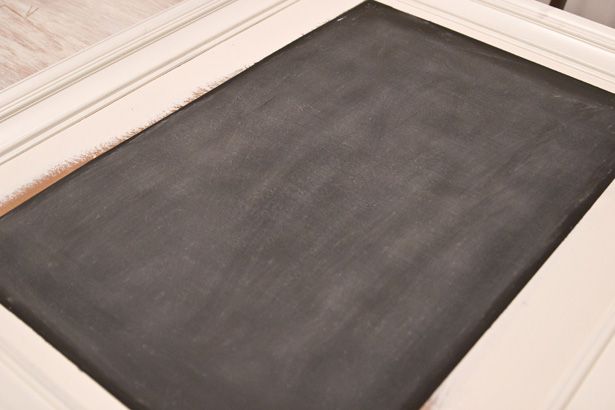
I made the gigantic chalkboard from that pretty blue frame I showed in the video, and a bigger piece of flea market art I picked up a while back.
Here’s what it used to look like:
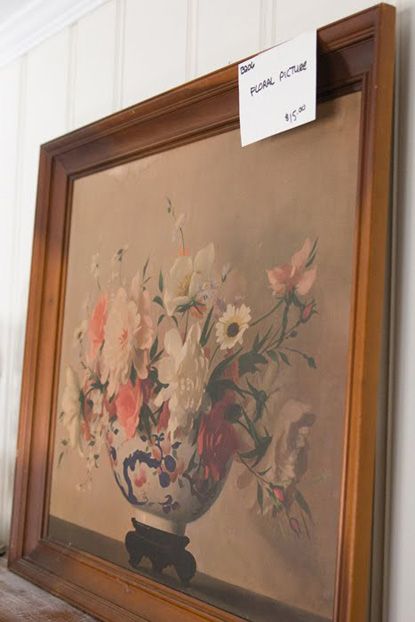
It was $15.00, and even though I had no idea what I would end up doing with it, I bought it anyway because I knew it was a great price for a frame that big.
It just needed a little paint…
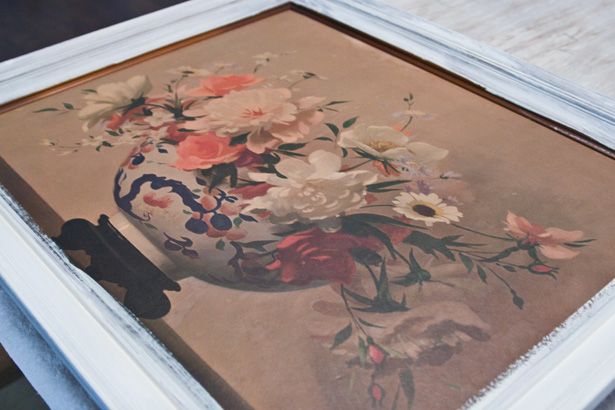
(Color: “Nacre”, Sherwin Williams)
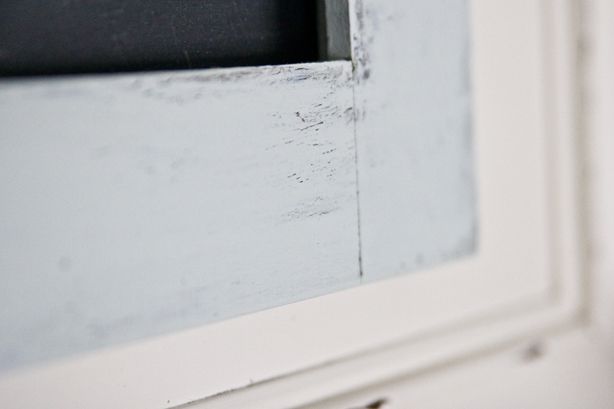
…some chalkboard spray paint and my $2.00, Sea Salt-painted (SW) flea market frame…
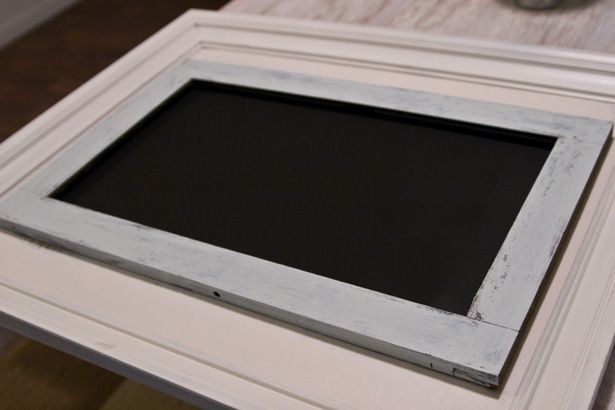
I seasoned the chalkboard part before I glued the blue frame down (with wood glue) to age it a bit…

I did have to sand down the front of the blue frame a little since someone had swirled their fingers around the original finish. But the Sea Salt paint we had from the guest bathroom project was almost a perfect match to the original color!
The last thing I did was hit the bigger frame with some sand paper, to give it a more time worn look…

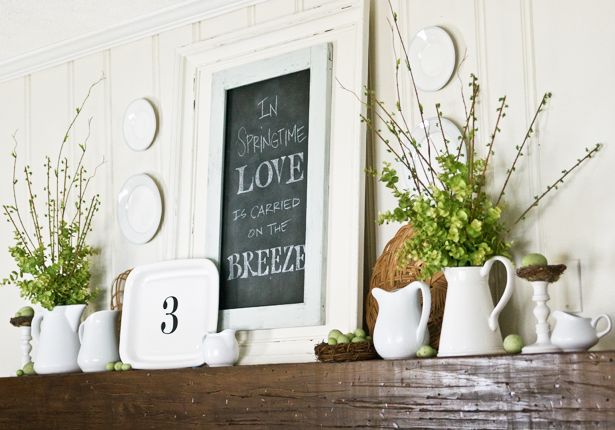
Normally, I’m not a super huge fan of “faux-liage”, but I wanted this mantle to last three months- so I sprang for some fairly realistic-looking, artificial pieces of greenery…


This last one is my favorite…it looks pretty real, doesn’t it?
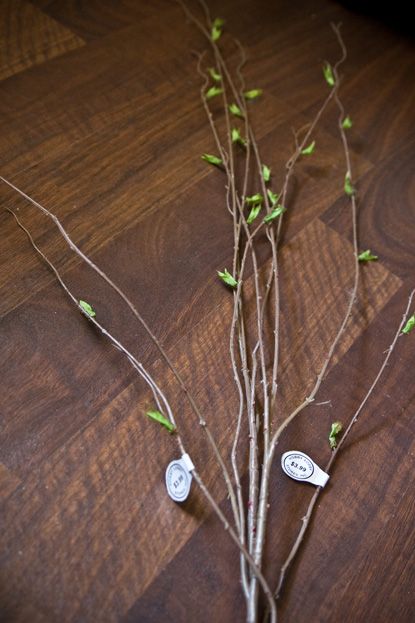
I’m really happy with how the “bouquets” turned out.
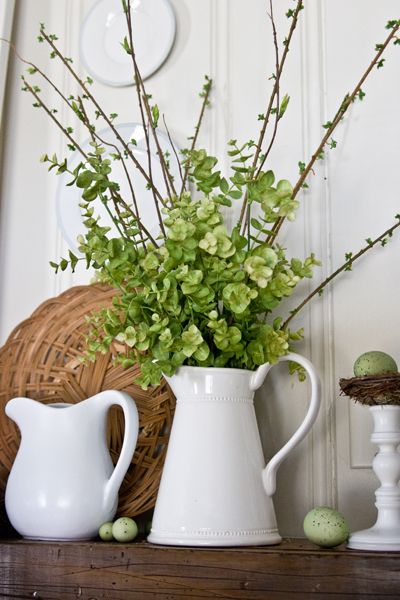
Kevin is especially estatic. You see, along with his other “favs” (natural light, accessories and window treatments) Kevin is also a big time “greenery man”, so he was pumped to learn that the “life” he discovered on our mantel when he came home from New York was going to live forever!

He was pretty thrilled about the bottom line too. Everything was 50% off at Hobby Lobby the day I bought it!

The $5.00 platter I bought at the flea market got a little makeover too…

I was inspired by a pillow I saw on PotteryBarn.com, so I had Eileen at Leen the Graphics Queen make me a rub-on number 3 decal to use on the front of it.

All I had to do was tell her what size and color I wanted it to be and voila! It showed up in my mailbox a few days later! (They’re $4.00 in case anyone is wondering.)
I chose the number three because it’s Kevin’s favorite number, and because it symbolizes the length of the Spring season- three months. I love the way it turned out, and how it ties in to the black of the chalkboard behind it.
If you’re interested in purchasing a vinyl decal for a project of your own, you can find Eileen HERE or in the Sponsors section in our sidebar.
Last, but not least, we hung up a couple of fifty cent, flea market find plates on the wall on either side of the chalkboard…
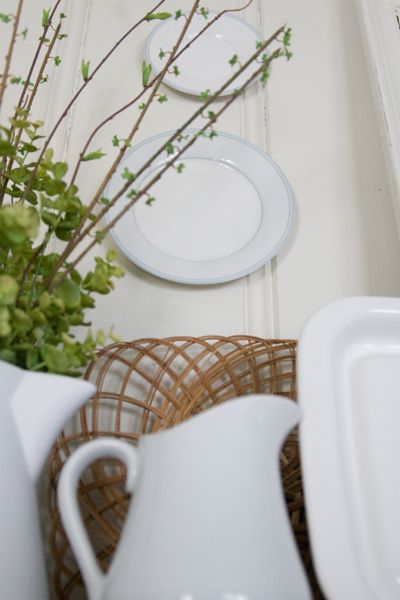
I love the addition of the circular-shaped plates next to the big, rectangular shaped chalkboard. I’m all about using a variety of shapes and textures, but I usually like to marry them color-wise, so these plates worked out great as a friendly, finishing touch.
And there ya have it!
Our farmhouse fresh, Spring-inspired fireplace mantel!


Hi Layla,
This is my first comment for you. I just LOVE this one on mantels. Can’t wait to see your winter one!! Max is sooo cute on your video….he just wanted to be part of it too. I am really enjoying your blogs and look forward to viewing more of them…both those to come and those in your archives. Also love Kevin’s music in the background of some of your videos. I feel like I have come to know you both because of them. Thanks again for all your inspiration and for sharing your creativity with me!! Warm Wishes, Sandy B
Hi Layla and Kevin:
I love your blog, I just started mine, and would like to invite you to become a follower, please do,
thanks
Martha
Layla and Kevin I love reading your blog, especially enjoy your vlogs…. You make me smile and I always Love your creations. You two are awesome!!!
Love this piece on Spring Mantel Decorating! I actually am doing just about everything you did, so thank you so much for the ideas!! Looking forward to the summer mantel.
I have been searching for a great mantel, something airy , out-doorsey , and you have captured all of these elements, Thank you, Now its shopping time,
Can you repost the link to the surround makeover? The link isn’t working and my husband and I are looking for ideas…
Thanks!
Cyndy
fresheggsandlaundry.blogspot.com
Sure!
https://theletteredcottage.net/my-82-fireplace-makeover
I love all of your beautiful work!!! Can you come redo my entire house?! You are just amazing! Thank you for sharing your work with all of us 🙂 I wanted to ask you how you would decorate a mantel that has a tv…we have a rock fireplace that continues to the ceiling and the tv is mounted to it. Along with many areas in our house, I am stumped on how to decorate it. Do you have any suggestions?
Thanks for the inspiration! Love how your mantel turned out!!
I just moved to a new flat, and looking for some inspiration, and found your blog, it is great! I’ll come back for more!
i love this and i am trying to recreate but want to know how do you get your chalk writing so nice? do you use chalk pens or stencils???
How did you make the chalkboard part inside of the blue frame? Would like to try it! Thank you!
Loved all your ideas & want to try some of them. Please let me know if you use a special mind of spray paint, don’t think mine has ever looked that shiny! I like the look.. Are you using enamal? Was relocated to Alabama from Ms. by huricane Katrina have never really nested. Losing all possessions at 55 was tough, but now I a
Redoing the glass porch, deck, & side yard in my Home right outside of Enterprise al. and my passion for painting,junking, repurposing has come back. Fantastic blogs like yours & ( your husband) get me so enthused!! Thank You!!
Nickname” Snooky”….Vicki Taylor.
Please come to my house to makeover my house! Your oober talented and I haven’t a speck of creative designer-ness in me! Love your blog!